IonicPage – Link to Pages with URL like a Pro
IonicPage allows you to link to pages of your Ionic app directly via URL links in the browser. Therefore, a link such as localhost:8100/#/auth-login when entered into the browser URL will take you directly to your Login Page, assuming your Deep Linking is right.
I personally had an interest in how this deep linking (IonicPage) thing worked, because many of my upcoming projects are all going to be Progressive Web Apps, and a way for Desktop users to move around seamlessly was a major concern for me.
IonicPage, Deep Linking, whatever you choose to call it, couldn’t have arrived at a better time!
The steps outlined in here will come in handy somewhere in your Angular project, since Ionic is a lot of Angular
If you’ve played with IonicPage with struggles before, one annoying that keeps popping up is, namely:
“X Page is part of the declarations of 2 modules” bla bla bla.
In this article, let’s fix the error together. It might seem like a mouth full of code, however, when you get the hang of it, you’ll order your next Koose (pronounced Ko-o-ose).
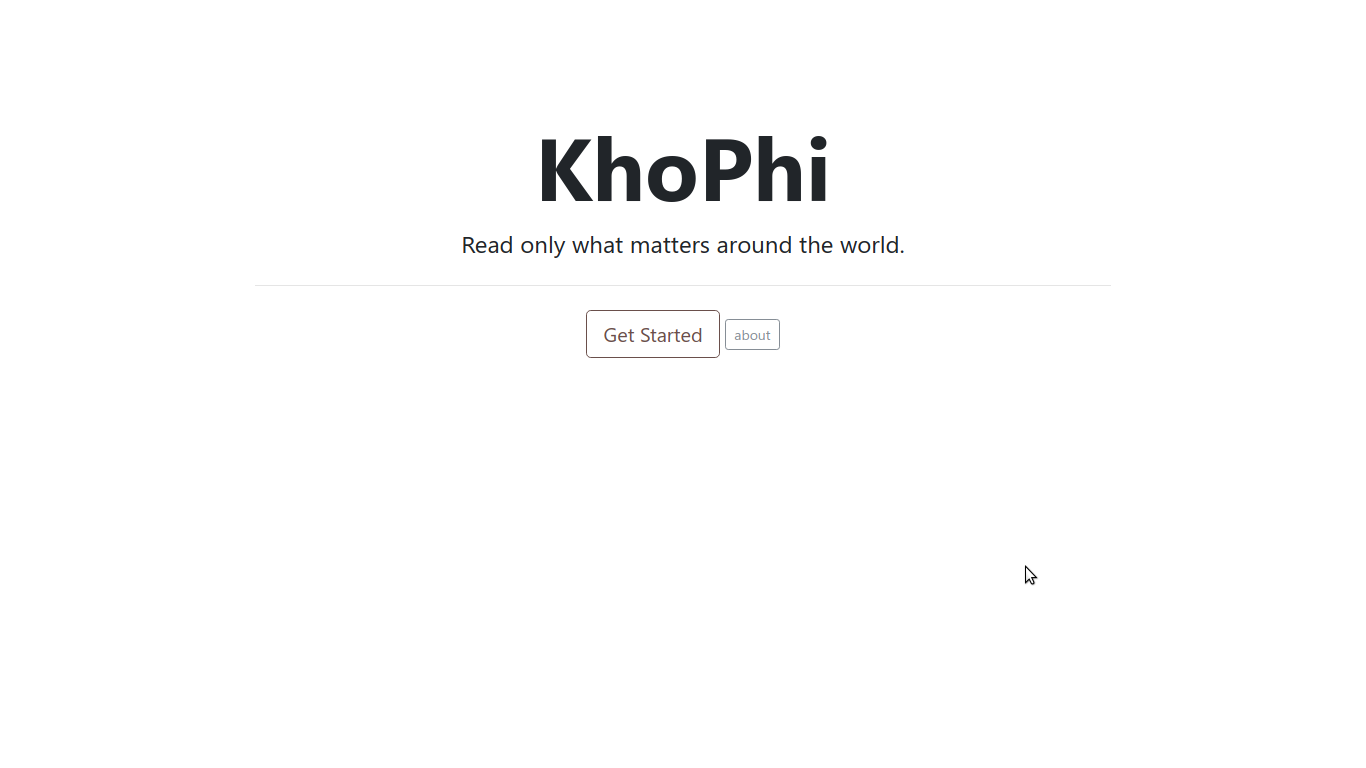
Our end results would look something like this (minus the UI whatever):

Let’s be on the Same Page
Here are the steps I’ve taken so far. Your setup might be different, but you might wanna follow this outline in order to understand what is about to happen.
- Installed Ionic cli latest
npm install -g ionic@latest - Created a new Ionic 2 project
ionic start khophi- I chose the ‘Side Menu’ Starter template
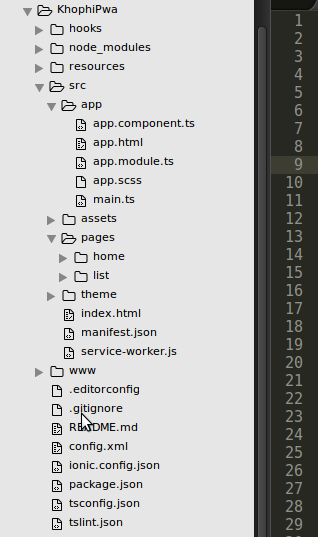
- After everything, this is the file structure I have
- Created an auth module
ionic generate page auth- This came with an
auth.module.tsModule as well.
- This came with an
- Go into the
src/pages/auth/folder and delete theauth.ts. We have something better to put in there.
With the above steps out of the way, let’s dive in!
Auth Login Page
Create an auth-login.tsfile and put this in:
import { Component } from '@angular/core';
import { IonicPage, NavController, NavParams } from 'ionic-angular';
import { AuthRegisterPage } from './auth-register';
import { HomePage } from '../home/home';

@IonicPage({
  segment: 'auth-login', // will be used in browser as URL
  name: 'login'
})
@Component({
  selector: 'page-auth-register',
  templateUrl: 'auth-login.html',
})

export class AuthLoginPage {
  constructor(public navCtrl: NavController, public navParams: NavParams) {
  }

  goToRegister() {
    this.navCtrl.push('register'); //IonicPage in use
  }
}
We then update our auth.module.ts to take this form:
import { NgModule } from '@angular/core';
import { IonicPageModule } from 'ionic-angular';
import { AuthLoginPage } from './auth-login';

@NgModule({
  declarations: [],
  imports: [
    IonicPageModule.forChild(AuthLoginPage),
  ],
})
export class AuthPageModule {}
Now, we create a new file, auth-login.module.ts, a dedicated module file that’ll go along with our auth-login.tsfile. In this auth-login.module.ts, add:
import { NgModule } from '@angular/core';
import { IonicPageModule } from 'ionic-angular';
import { AuthLoginPage } from './auth-login';

@NgModule({
  declarations: [
    AuthLoginPage,
  ],
  imports: [
    IonicPageModule.forChild(AuthLoginPage),
  ],
  entryComponents: [
     AuthLoginPage
  ]
})
export class AuthLoginPageModule {}
A chunk part of the task has been accomplished at the moment. To proceed, we’re left with the step of including our auth.module.ts and auth-login.module.ts in our app.module.ts, bringing our App Module to reflect these changes:
import { BrowserModule } from '@angular/platform-browser';
import { ErrorHandler, NgModule } from '@angular/core';
import { IonicApp, IonicErrorHandler, IonicModule } from 'ionic-angular';

import { MyApp } from './app.component';
import { HomePage } from '../pages/home/home';
import { ListPage } from '../pages/list/list';

import { AuthPageModule } from '../pages/auth/auth.module';
import { AuthLoginPage } from '../pages/auth/auth-login';
import { AuthLoginPageModule } from '../pages/auth/auth-login.module';

// import { AuthRegisterPage } from '../pages/auth/auth-register';
// import { AuthRegisterPageModule } from '../pages/auth/auth-register.module';

import { StatusBar } from '@ionic-native/status-bar';
import { SplashScreen } from '@ionic-native/splash-screen';

@NgModule({
  declarations: [
    MyApp,
    HomePage,
    ListPage,
  ],
  imports: [
    BrowserModule,
    AuthPageModule,
    AuthLoginPageModule,
    // AuthRegisterPageModule,
    IonicModule.forRoot(MyApp),
  ],
  bootstrap: [IonicApp],
  entryComponents: [
    MyApp,
    HomePage,
    ListPage,
    // AuthRegisterPage,
    AuthLoginPage
  ],
  providers: [
    StatusBar,
    SplashScreen,
    {provide: ErrorHandler, useClass: IonicErrorHandler}
  ]
})
export class AppModule {}
At this stage, we should be able to enter localhost:8100/#/auth-login in the browser and get something like this:
The Auth Register
Well, if you thought for a second I would do that step for you, then you’re mistaken. All the best with it!
Lemme know in the comments any issue you come across. The same procedure we used for the Auth Login, should work for the Auth Register too.
Happy Ionizing!