Flutter – Barebones, Basic Good Looking Login Page, with Routing [Part 2]
In the previous article, we got to the stage where we had this. In this article, we’ll continue with the making of our end result Login Page by working on the routing part.
Routing is one of the first features of any framework I try to grasp as soon as possible. Moving from one screen/page/view to another is a staple of mobile and web applications.
Fortunately, Flutter makes navigation and routing seamless.
If you’ve used Ionic before, you should feel right at home. Here we go
Routes
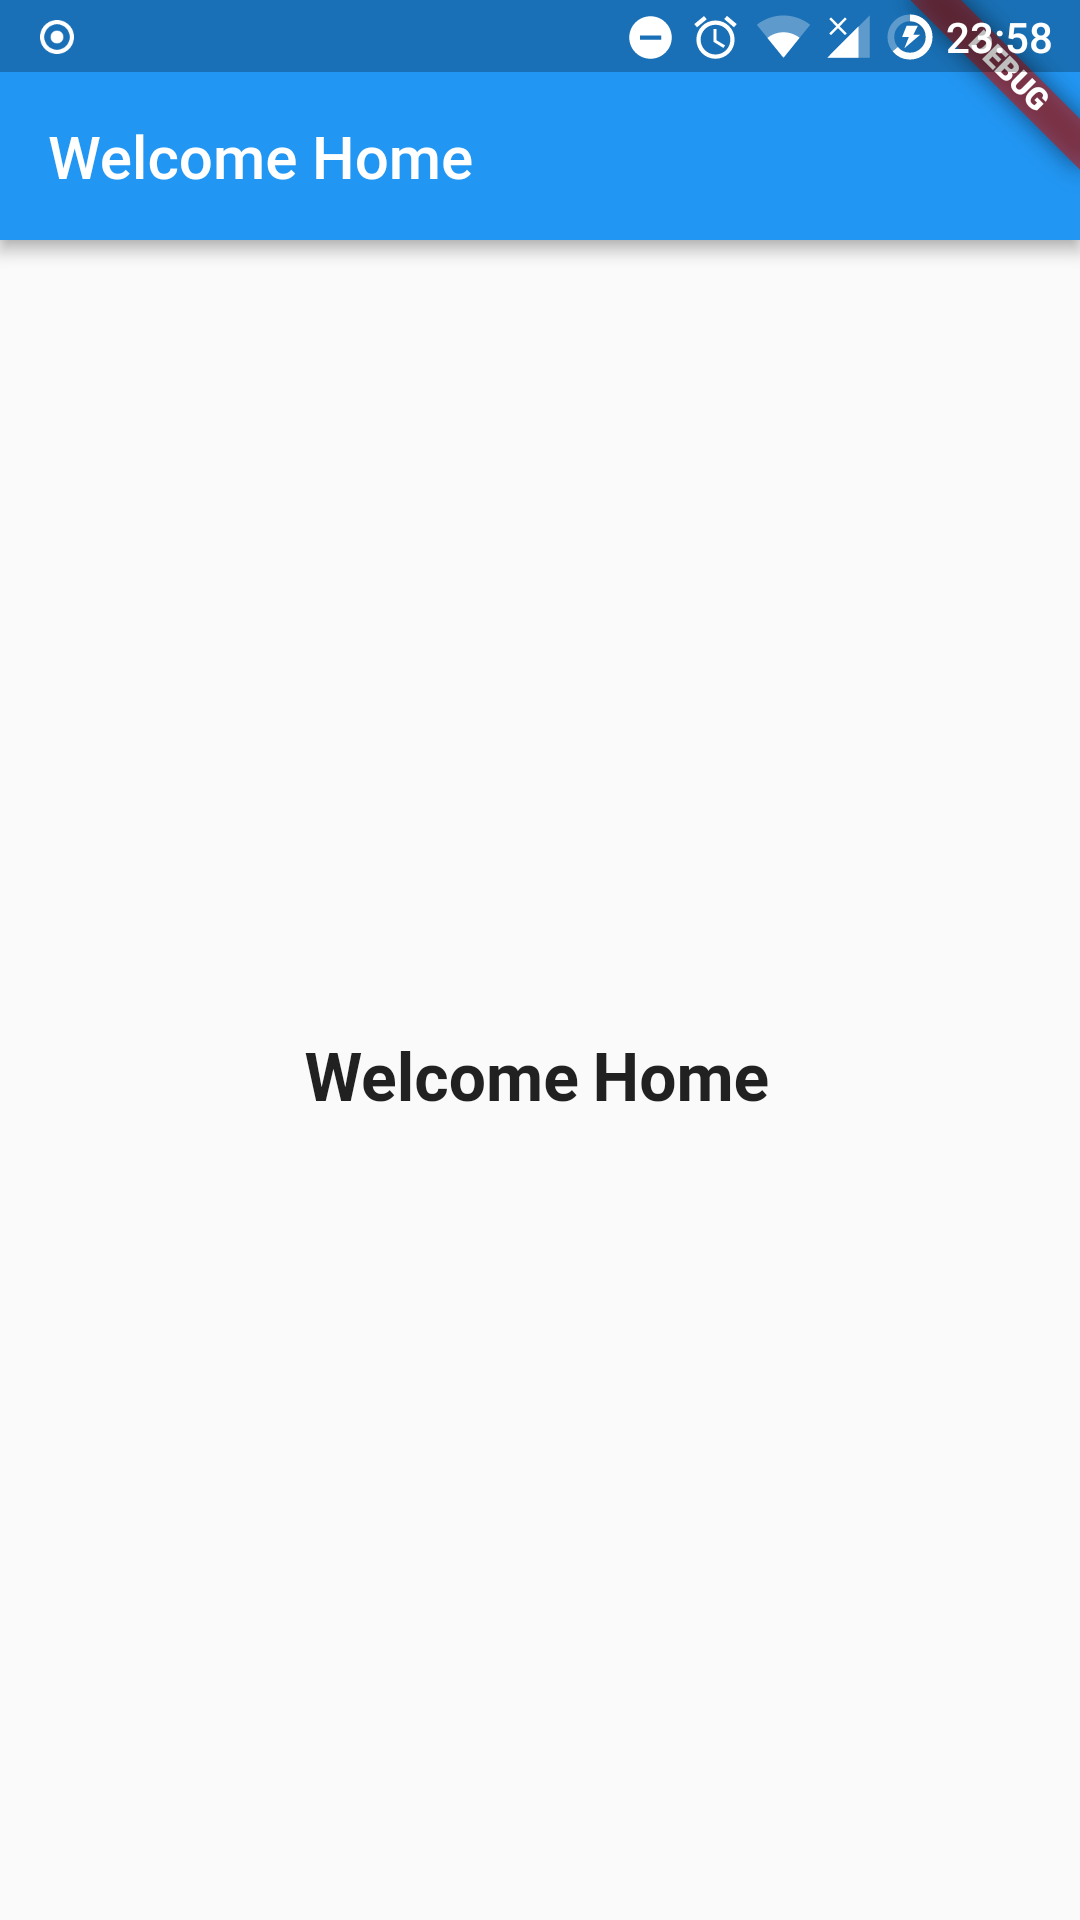
This is where we left off in the previous article:
import 'package:flutter/material.dart';

void main() => runApp(new MyApp());

class MyApp extends StatelessWidget {
  // This widget is the root of your application.
  @override
  Widget build(BuildContext context) {
    return new MaterialApp(
      title: 'Flutter Demo',
      home: new Scaffold(
        appBar: new AppBar(
          title: new Text(
            'Welcome Home',
          ),
        ),
        body: new Center(
          child: new Text(
            'Welcome Home',
            style: new TextStyle(
              fontSize: 22.00,
              fontWeight: FontWeight.bold,
            ),
          ),
        ),
      ),
    );
  }
}
We’re going to start our routing. To keep things clean, how about we keep our routes in a separate file, say, routing.dart?
Well let’s do that then.
import 'package:flutter/material.dart';
import 'routing.dart';

void main() => runApp(new MyApp());

class MyApp extends StatelessWidget {

  @override
  Widget build(BuildContext context) {
    return new MaterialApp(
      initialRoute: '/login',
      routes: routes
    );
  }
}
Remember we said the MaterialApp() widget comes with a few tricks up its sleeves? Let’s enjoy two of them.
Keep calm, and please follow along. We only replaced all the meat under the MaterialApp() with the initialRoute and routes widgets.
The initialRoute, well does what its name suggests, loads an initial route, which points to a Widget responsible for that.
We’ve imported the routing.dartwhich contains the routes.
import 'home.dart';
import 'auth/login.dart';

final routes = {
  '/': (context) => new HomePage(),
  '/login': (context) => new LoginPage(),
};
A few extra changes for us to make.
- We need to create a
home.dartfile with theHomePage()widget - And also the
LoginPage()
Let’s do that then.
HomePage
Homepage is homepage. We’ll simply want to display the “Welcome” text on the homepage for now.
import 'package:flutter/material.dart';

class HomePage extends StatelessWidget {
  @override
  Widget build(BuildContext context) {
    return new MaterialApp(
      title: 'Home Page',
      home: new Scaffold(
        appBar: new AppBar(
          title: new Text(
            'Welcome Home',
          ),
        ),
        body: new Center(
          child: new Text(
            'Welcome to Home',
            style: new TextStyle(
              fontSize: 22.00,
              fontWeight: FontWeight.bold,
            ),
          ),
        ),
      ),
    );
  }
}
Quickly, let’s do same for the LoginPage()
LoginPage
Create the login.dart so that you end up with something like this: lib/auth/login.dart
Then in there, we tuck in this:
import 'package:flutter/material.dart';

class LoginPage extends StatelessWidget {
  @override
  Widget build(BuildContext context) {
    return new MaterialApp(
      title: 'Login Page',
      home: new Scaffold(
        appBar: new AppBar(
          title: new Text(
            'Login Page',
          ),
        ),
        body: new Center(
          child: new Text(
            'Welcome to Login Page',
            style: new TextStyle(
              fontSize: 22.00,
              fontWeight: FontWeight.bold,
            ),
          ),
        ),
      ),
    );
  }
}
Cool!
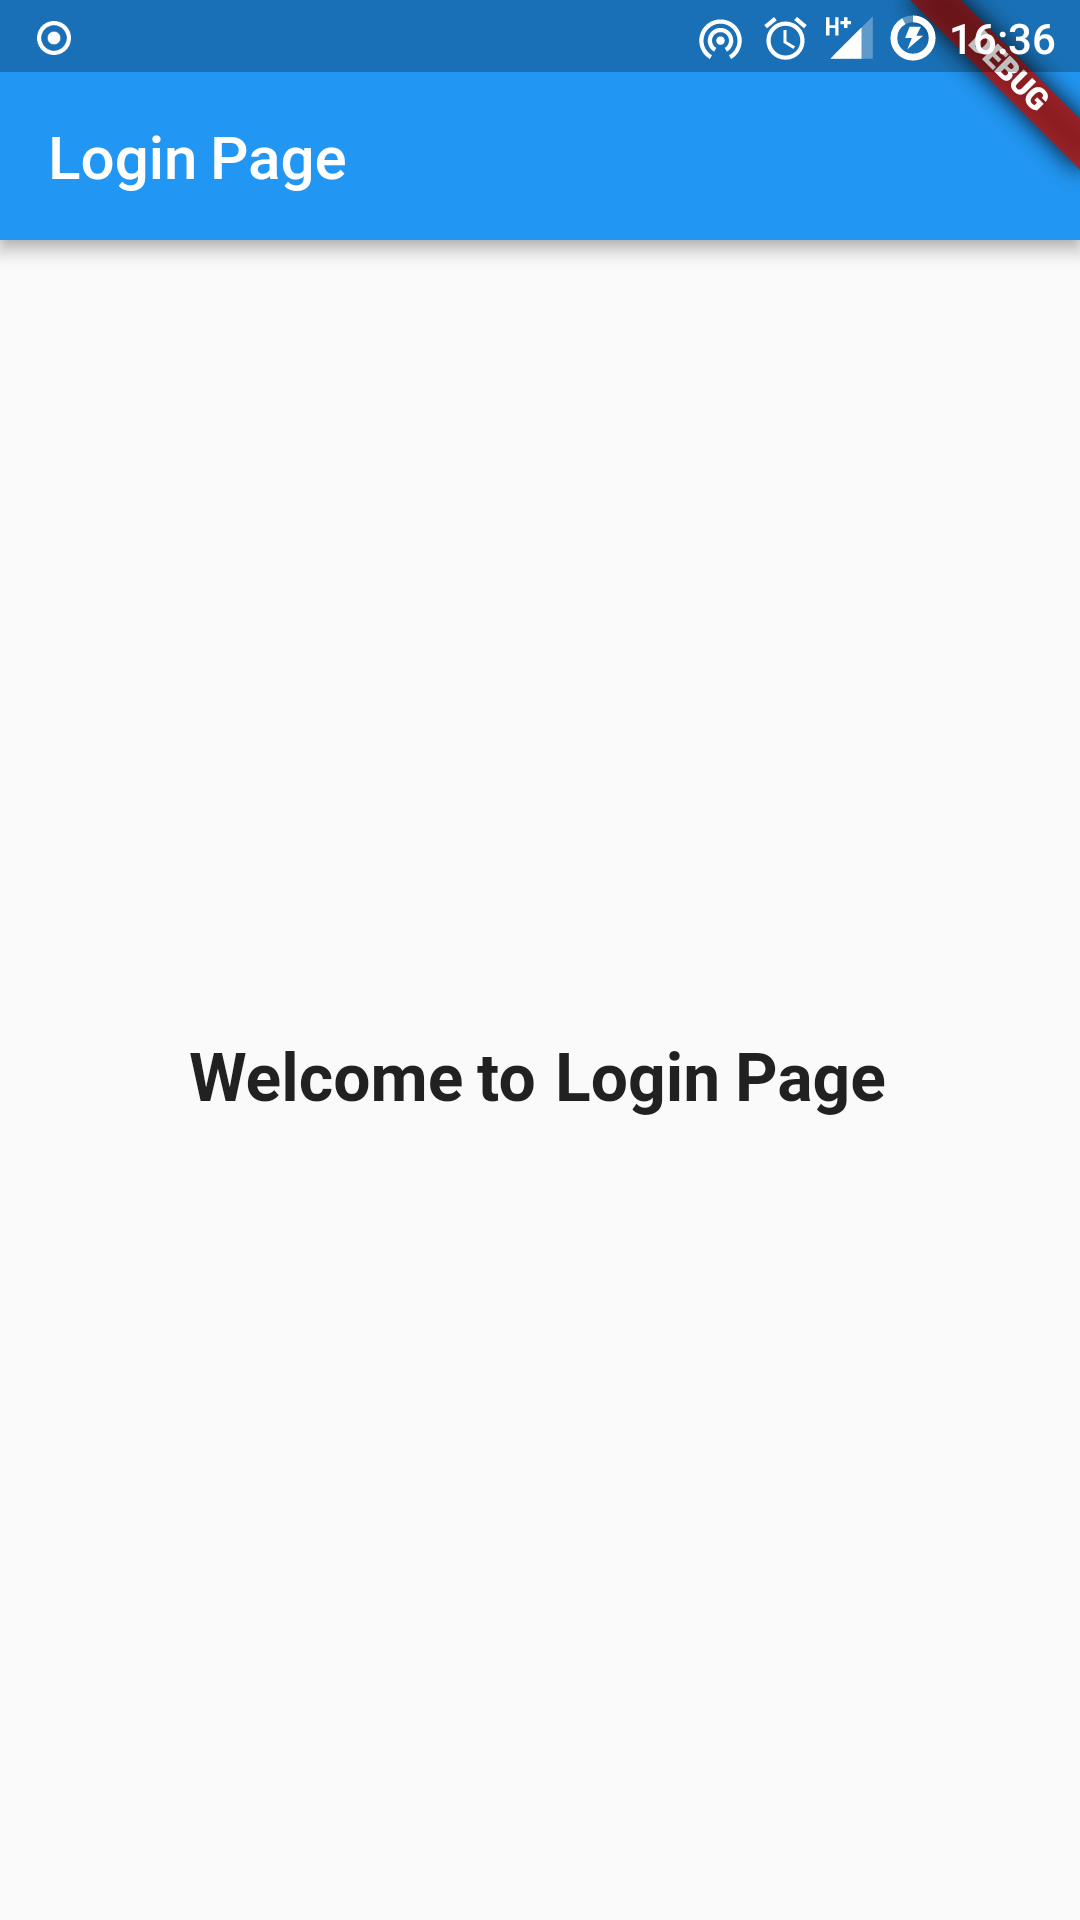
Thus, at this point, should you run flutter run in the project directory, you should see this:
Good, now we have our login page. But how do we navigate to the homepage? Please read on
Navigation
So we wanna add a button to the login page, and when tapped on, navigate the user the the homepage. To do that, we’ll need to add a button.
Adding a button would involve a bit of gymnastics. But I’ve got you. Let’s learn a few more of Flutter, namely, the Layouts.
The code below, we see the Center(...) widget has only one child
        body: new Center(
          child: new Text(
            'Welcome to Login Page',
            style: new TextStyle(
              fontSize: 22.00,
              fontWeight: FontWeight.bold,
            ),
          ),
        ),
And that child is the Text(..) widget. So can we add multiple ‘childs’? Yeah, but since Center widget accepts only a single child, we need something that’ll allow us add children.
So let’s put the widget that’ll allow us have more children, in a Container widget. Container is a container. Like, literally, a container. See how it goes
body: new Container(
  padding: EdgeInsets.only(top: 48.0, left: 24.0, right: 24.0),
  child: new ListView(
    children: <Widget>[
      // a children widget takes an array of widgets // Widgets will be in here, ], ), ),
We add the Container() widget, which allows for only 1 child widget.
Then we pass in a ListView widget as a child of the Container. The ListView is a widget that allows us to have many children, and so we see the children widget there.
Let’s take a pause here.
Is it all making sense? It does to me. Initially was weird, but makes sense. Imagine you’re writing HTML with CSS and Javascript all mixed together in a single language.
We’re beautifully handling padding with the EdgeInsets widget, which has the method only(), which takes in values for specific LTRB (Left Top Right Bottom) values, in double. You don’t write 48. You say, 48.0, always.
Hover over the Container widget in vscode to learn all the other widgets allowed in it. Same with the ListView widget.
Let’s give Birth
You have kids? I don’t. Whatever the case, we can all have children in Flutter.
Let’s see the code and then chew on it:
body: new Container(
  padding: EdgeInsets.only(top: 48.0, left: 24.0, right: 24.0),
  child: new ListView(
    children: <Widget>[
      new Center(
        child: new Text(
          'Welcome to Login Page',
          style: new TextStyle(
            fontSize: 22.00,
            fontWeight: FontWeight.bold,
          ),
        ),
      ),
      new SizedBox(height: 34.0,),
      new RaisedButton(
        color: Colors.lightBlueAccent,
        child: new Text(
          'Go to Homepage',
          style: new TextStyle(
            color: Colors.white,
            fontSize: 18.0,
          ),
        ),
        onPressed: () {
          Navigator.pushNamed(context, '/');
        },
      )
    ],
  ),
),
You know the Center widget already, so not much talking on that for now.
The SizedBox()is pretty cool! It creates a fixed size box. In the case of the above, we created a box of height 34.0.
Then next is the RaisedButton() widget, which creates a button. Duh! What it does and how to style should come obvious, looking at the code, right?
The interesting part for us here is when the button is pressed, we want to go to the homepage.
We do that by responding to the onPressed()method with a Navigator.pushNamed(), passing in the context and the named route from the routing.dart file.
Right?
You login.dart complete file should now look like this:
import 'package:flutter/material.dart';

class LoginPage extends StatelessWidget {
  @override
  Widget build(BuildContext context) {
    return new MaterialApp(
      title: 'Login Page',
      home: new Scaffold(
        appBar: new AppBar(
          title: new Text(
            'Login Page',
          ),
        ),
        body: new Container(
          padding: EdgeInsets.only(top: 48.0, left: 24.0, right: 24.0),
          child: new ListView(
            children: <Widget>[
              new Center(
                child: new Text(
                  'Welcome to Login Page',
                  style: new TextStyle(
                    fontSize: 22.00,
                    fontWeight: FontWeight.bold,
                  ),
                ),
              ),
              new SizedBox(height: 34.0,),
              new RaisedButton(
                color: Colors.lightBlueAccent,
                child: new Text(
                  'Go to Homepage',
                  style: new TextStyle(
                    color: Colors.white,
                    fontSize: 18.0,
                  ),
                ),
                onPressed: () {
                  Navigator.pushNamed(context, '/');
                },
              )
            ],
          ),
        ),
      ),
    );
  }
}
That should get us this, with the button opening the Home Page.

Hurray
Conclusion
At this stage, you have at least a fair idea of how routing and navigation happens in Flutter. The next article will consider adding the forms.
It’s gonna be a fun one. See ya