Flutter – Barebones, Basic Good Looking Login Page, with Routing
Getting up and running with anything new can be challenging. Frameworks are no different. Sometimes we know what we want, but it can be challenging transfering that to the new framework. By building a Login Page, we stand the chance of playing with many cool swiss-knife-like features in Flutter.
I’ve been doing Angular and Django for some time, both rock solid frameworks for building web applications. However, getting started with Flutter (Dartlang) presents different ways of thinking and going about seemingly simple tasks.
If you recently got started with Flutter (I got started about 2 days as at writing this), you might have many questions, at least regarding how all these ‘Widgets’ fit together.
In building a simple looking Login Page together, I’m sure it should help you get started on the right foot.
So here we go.
In this article, expect to learn at least these:
- Doing something like a routing table
- Creating forms
- Switch from one page to another (navigation)
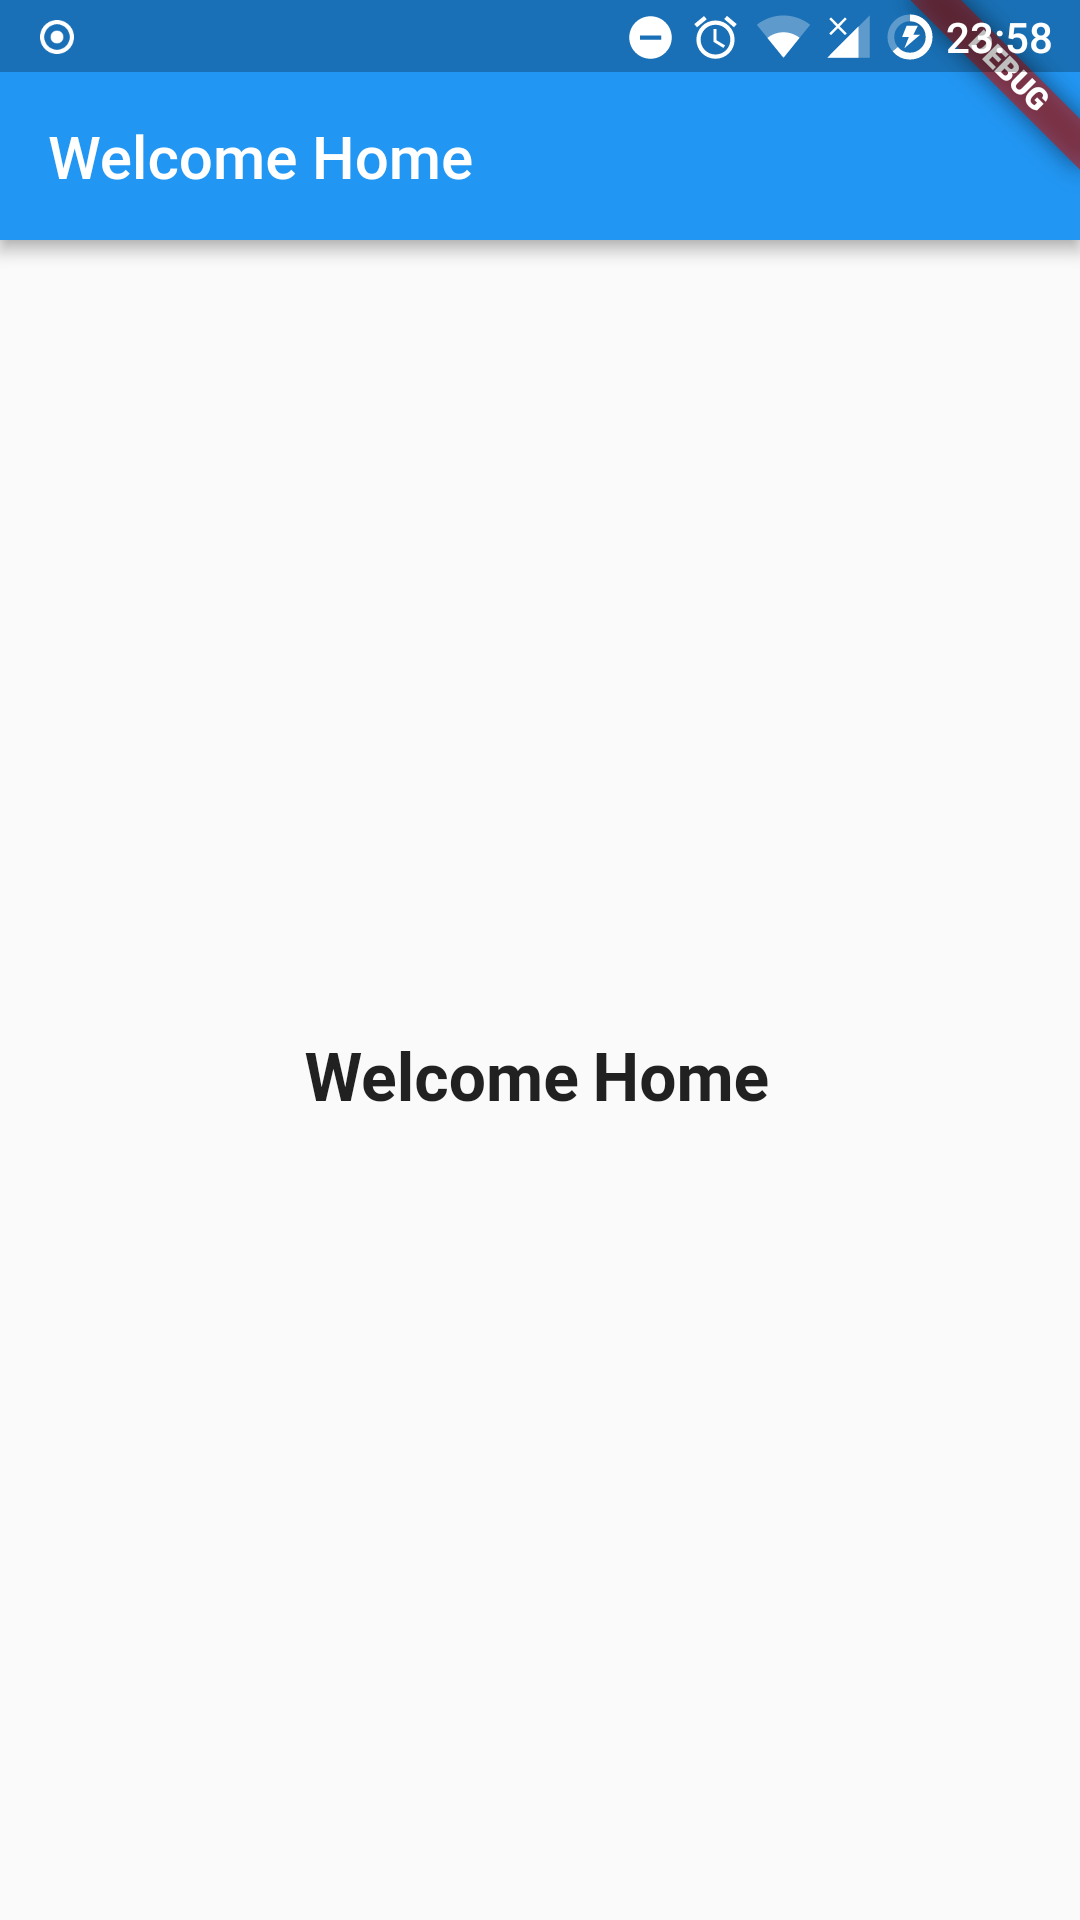
At the end of this and the subsequent articles, you’re building what’s below.
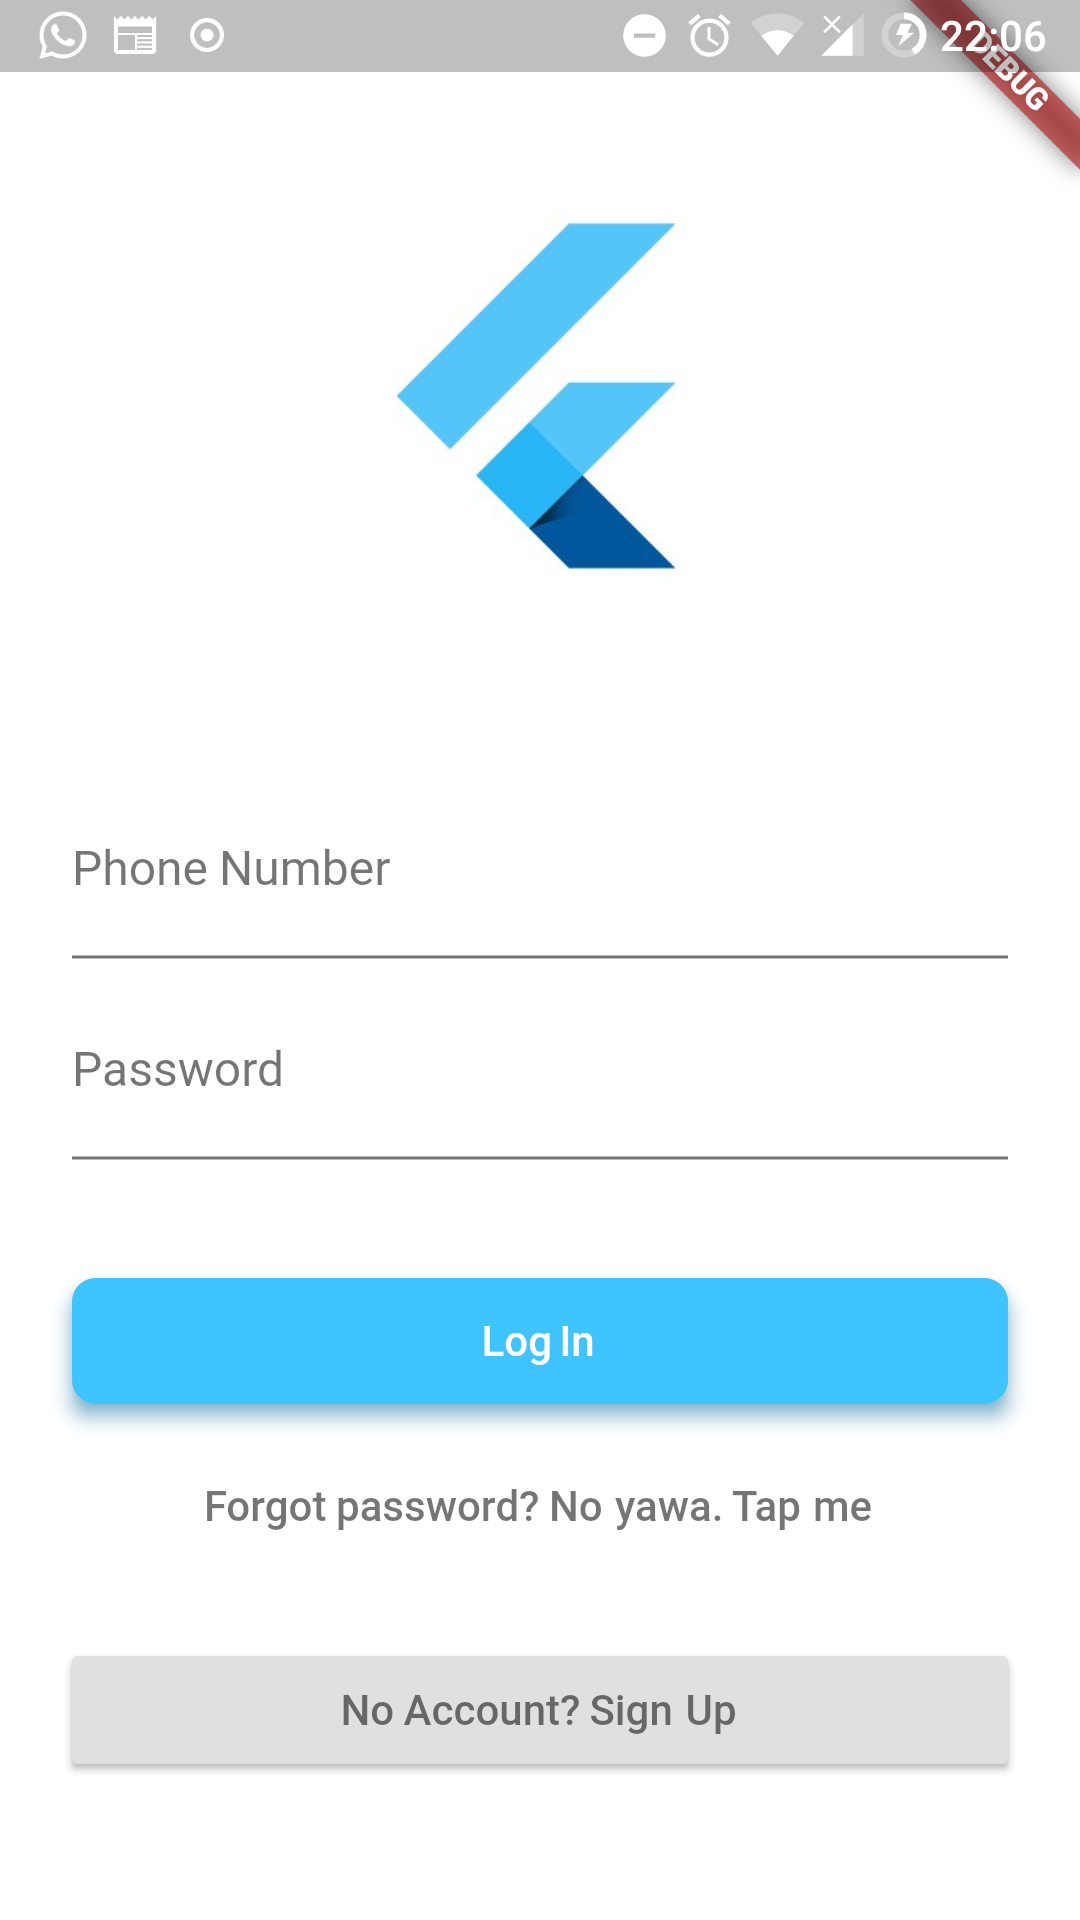
Deal!
New Project
flutter create login_app
Done. Project created. Then
cd flutter && flutter run
At this point, if your Android SDK and others are well setup, you should have no issues at all.
In my case, after setting my Android environment right, I’m using my phone as the emulator.
If you don’t know how to setup your Android SDK and emulator etc, or how to setup Flutter in general, check this article:
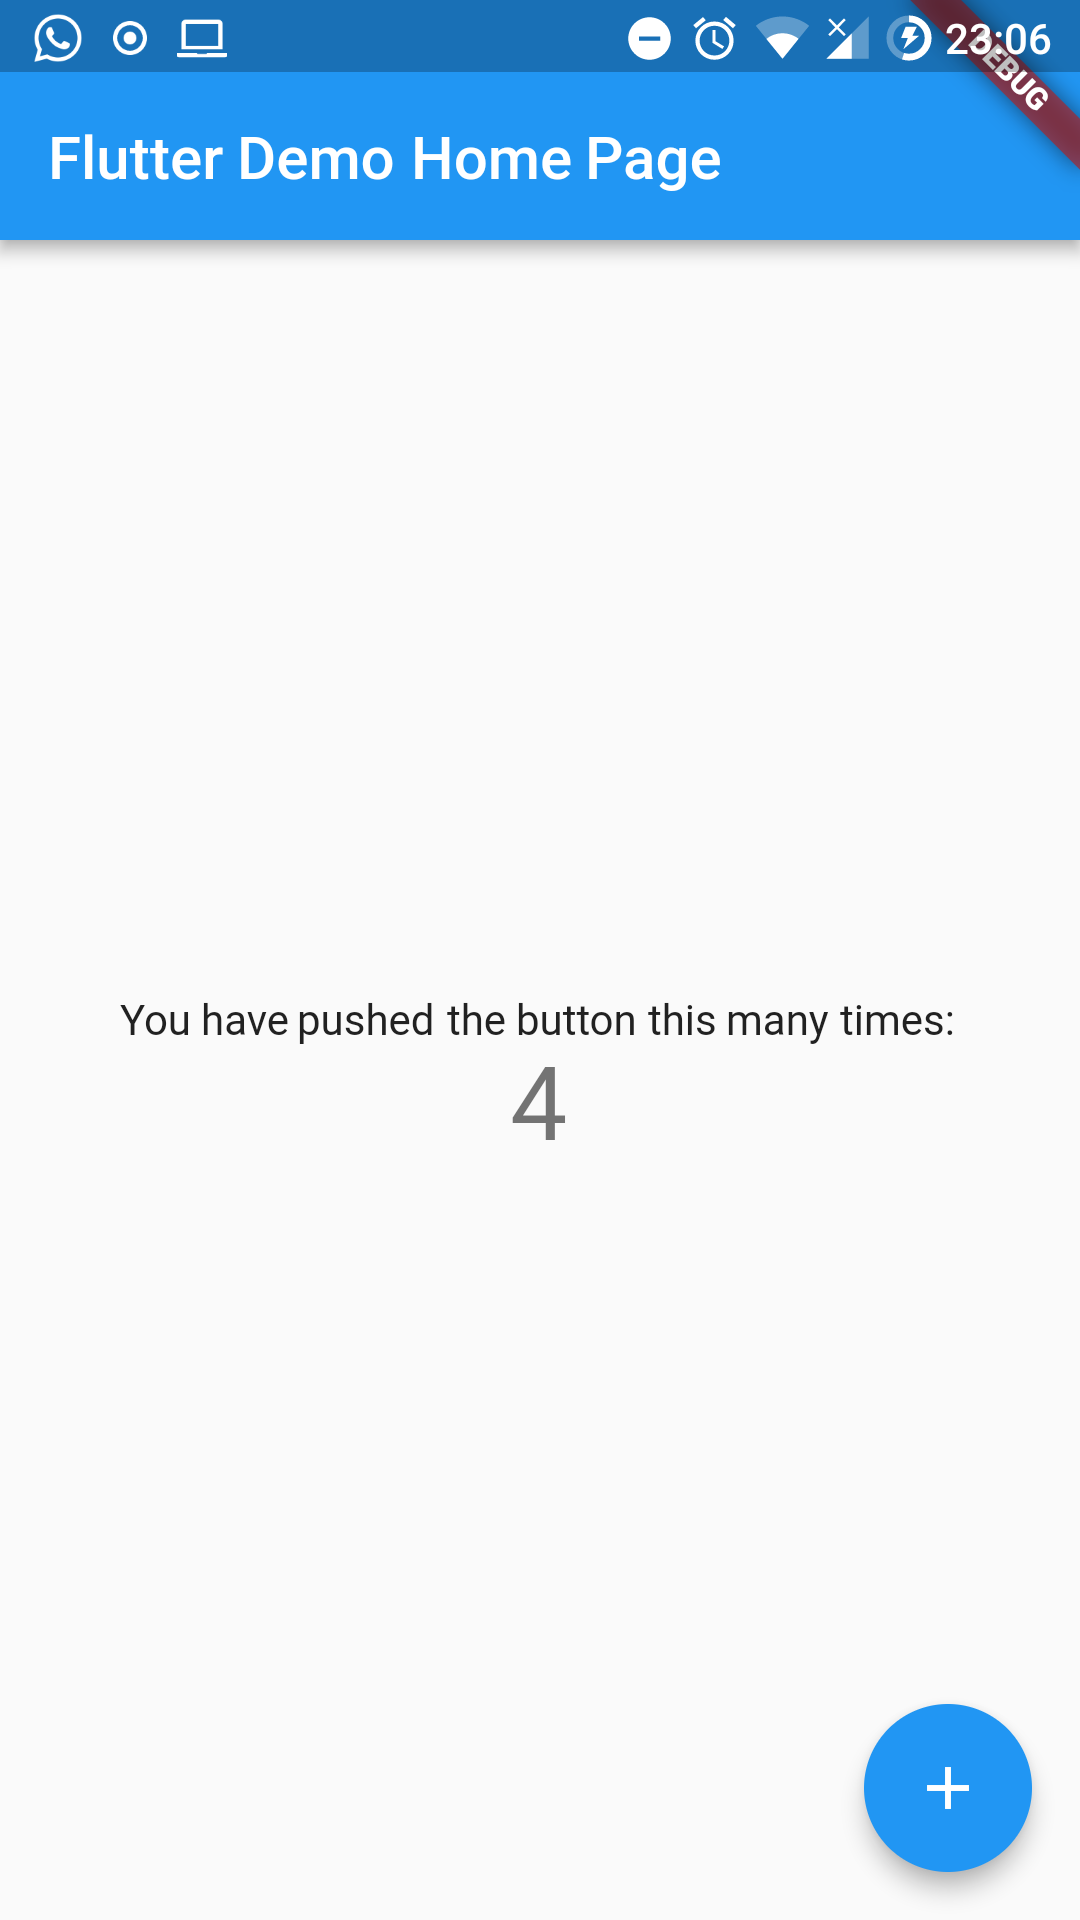
We should see something like the above in either our emulator on PC or on our Android Phone screen. We’re good to know if you do.
Brick by Brick
In the Flutter project directory, open the lib/main.dart file and delete everything in. You should end up with something like this:
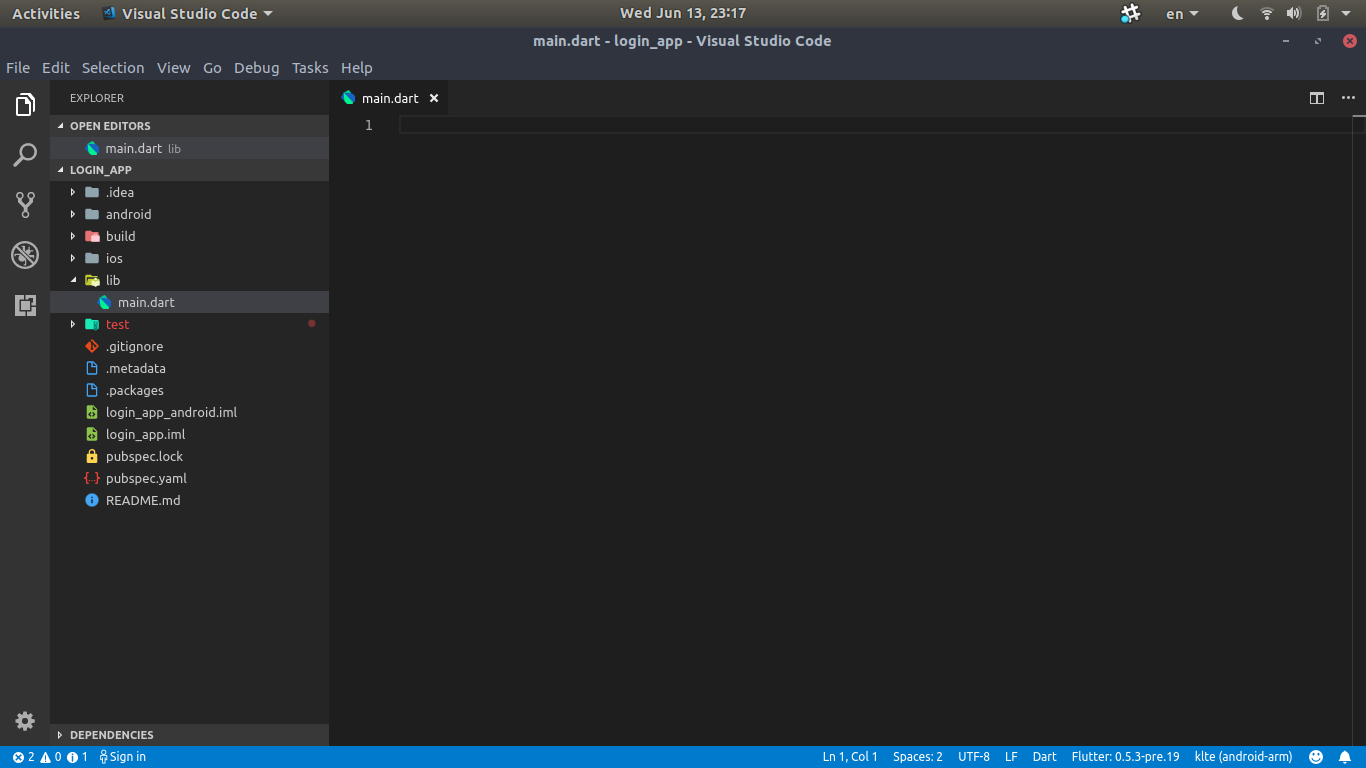
What a sense of calmness and peace!
By the way, I use vscode. Just saying.
Now it’s time for you and I to build the Login Page, brick by brick, on code line at a time. You can do this. I personally couldn’t find any line by line resource online explaining how each part fits together. So you welcome!
Imports
Flutter has got inputs, just like your Angular (Javascript ES6) or your Django (Python). Almost the entire beefy part of Flutter Components Widgets are within this module? package? file?. No idea what the right word would be. But well, imports exists in Flutter too.
Perhaps think of it as the
import { } from '@angular/core'thing.
Let’s import our primary package:
// If using VScode with the flutter plugin,
// autocompletion with imports exist, like
// in Angular.

import 'package:flutter/material.dart';

.....
With that import in place, you can say, the whistle has been blown!
Bootstrapping
Trust me, I do not fully comprehend the mechanism behind the scenes, but there’s something like the entry point of every flutter app. Think the main.ts file of Angular? Maybe.
From this point in code, is where the entire application is bootstrapped. In Flutter, it goes like this:
import 'package:flutter/material.dart';

void main() => runApp(new MyApp());
Everything is a Widget in Flutter! Duh
We pass the MyApp widget (in fact, it’s a class which extends from a StatelessWidget, you guessed right, Class) into the runApp() widget, bootstrap the application for good.
Wanna try and run the current code we have and see what happens?
Flutter has something they call, Hot reload. Unlike Angular’s CLI restarting of the entire Angular application when you make changes, Hot Reload allows changed part of the code to swap in live into the emulator seamlessly.
So if you changed a button color from blue to red in Angular, the entire application is restarted.
With Hot Reload in Flutter, everything will stay the same, but only the button color would be, say, reloaded to see the change in color.
It’s pretty cool.
Whether you tried the two-line snippet up there or not, the obvious truth is, Flutter will scream at you. MyApp() class widget doesn’t exist, yet!
So how do we fix things?
MyApp() For The Win
Take a look at this:
class MyApp extends StatelessWidget {
  // This widget is the root of your application.
  @override
  Widget build(BuildContext context) {
     // some flesh of code to be put here.
  }
}
Now you know MyApp(), right? Say hi then!
Did I know what a StatelessWidget was basically? Nope. But I learned quickly as I was writing this article by just hovering over the class in vscode.
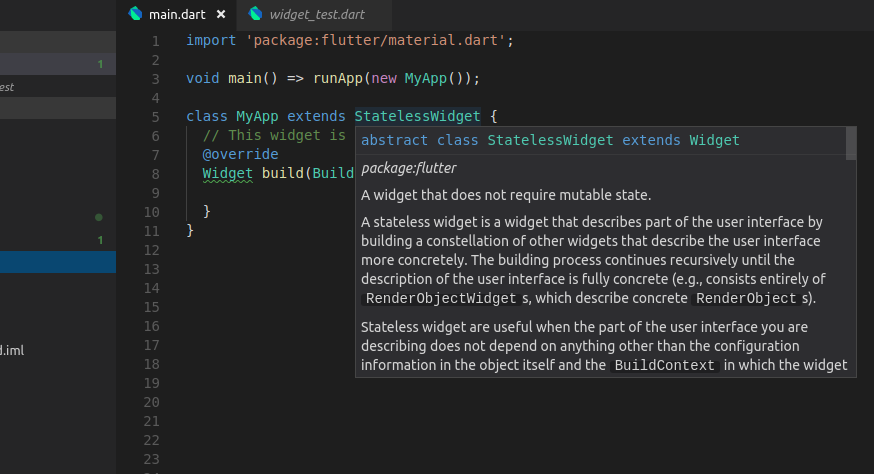
In short, use StatelessWidget for situations where the state of your application won’t change.
Do you understand? You don’t? Good. Let’s move on.
What is the purpose of @override?
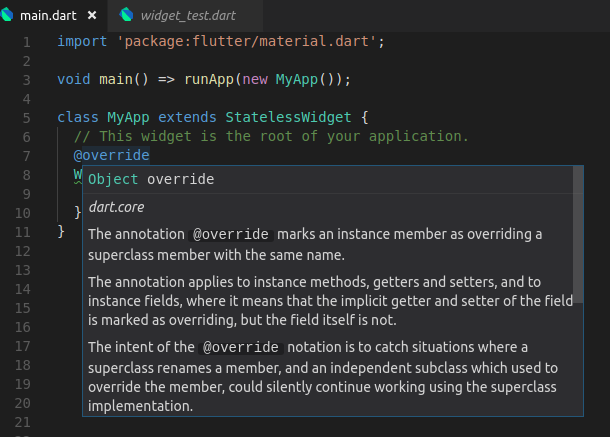
Now you get the idea? You can hover on the rest of the classes and methods to read about what they are. I find most of these on-hover tips much more useful, because right in code, I get to learn what’s going on.
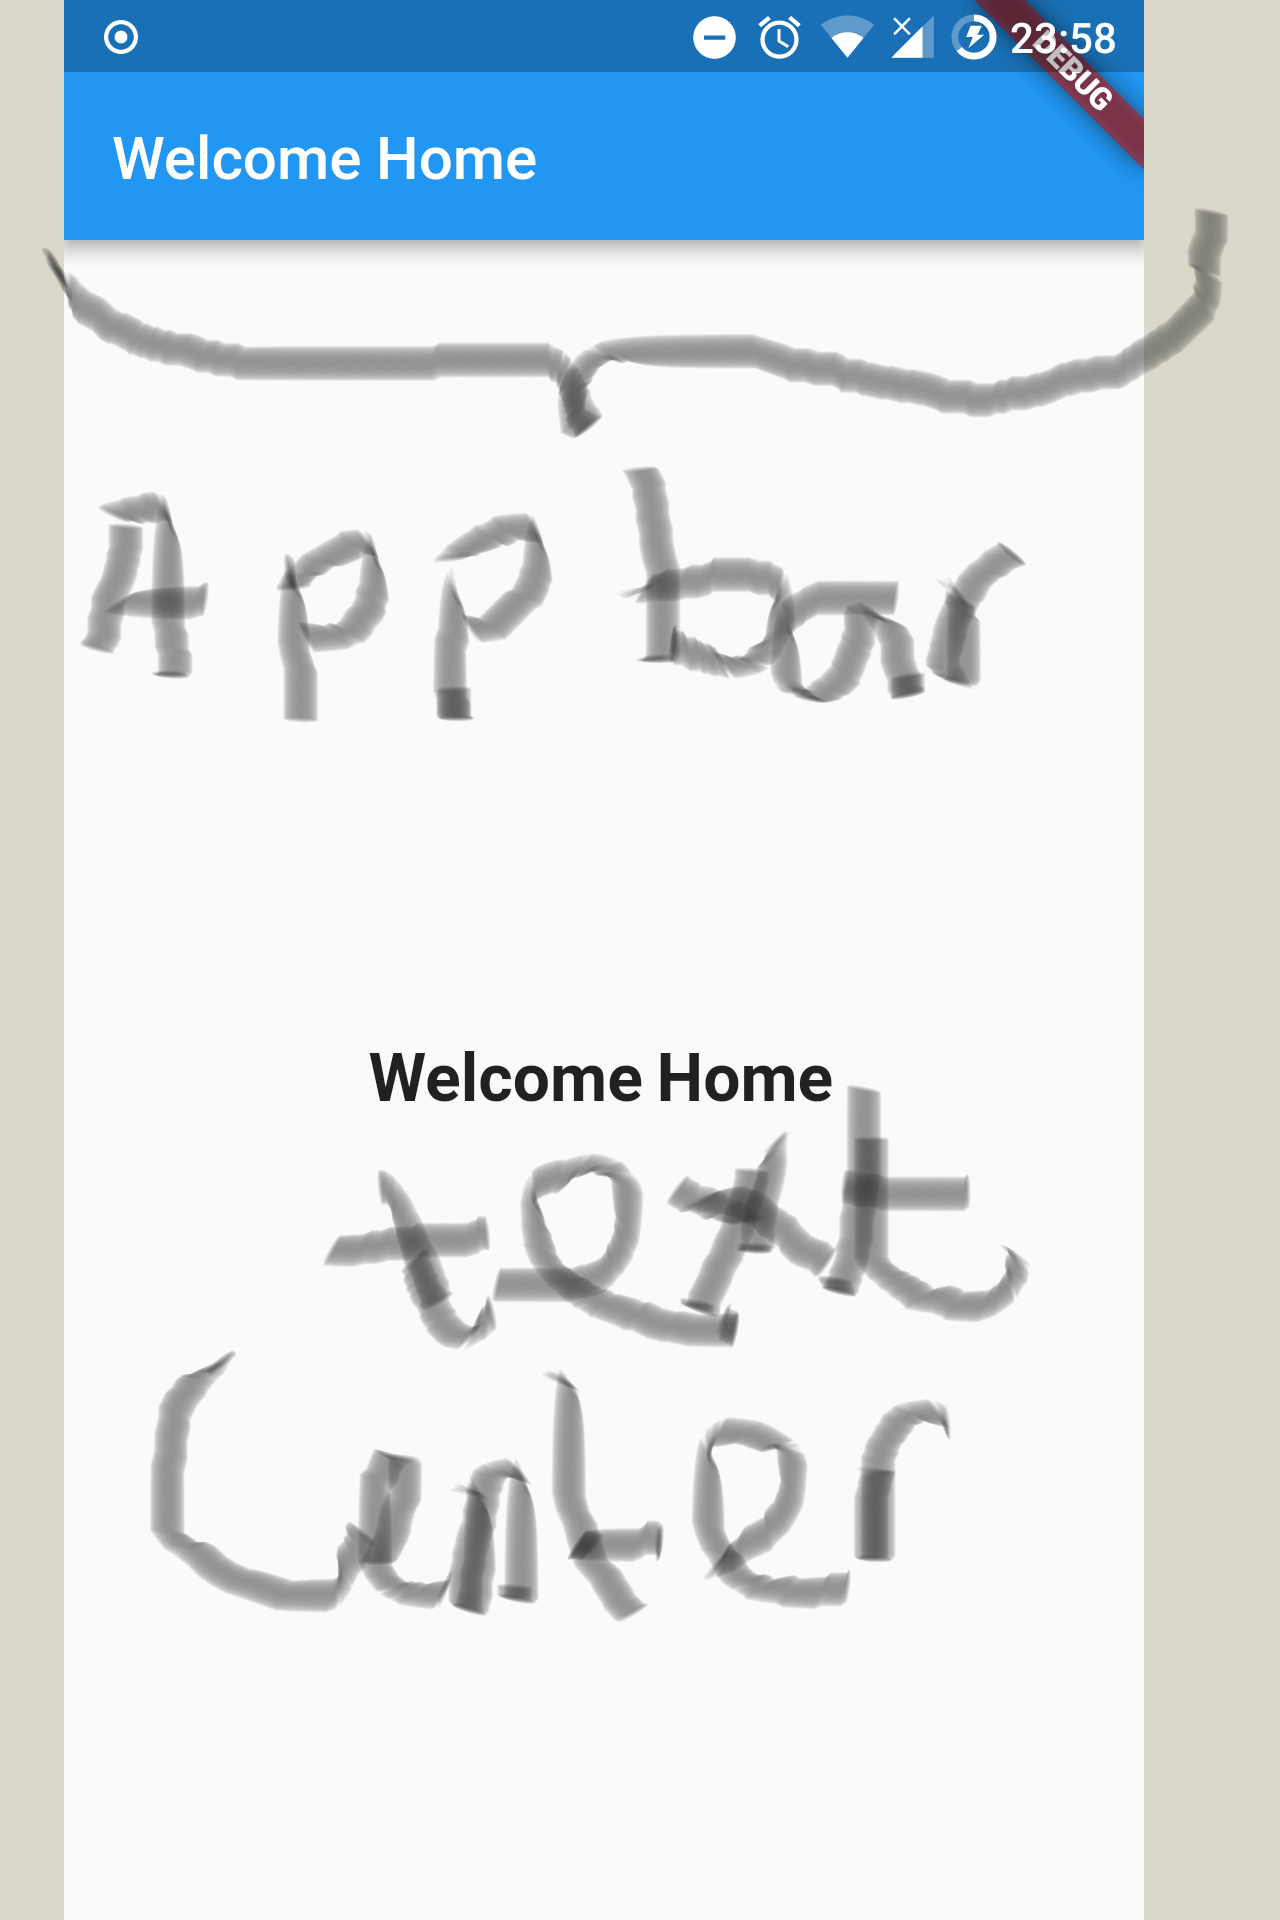
Finally, Something Real
The code below achieves what’s in the image next below this snippet
import 'package:flutter/material.dart';

void main() => runApp(new MyApp());

class MyApp extends StatelessWidget {
  // This widget is the root of your application.
  @override
  Widget build(BuildContext context) {
    return new MaterialApp(
      title: 'Flutter Demo',
      home: new Scaffold(
        appBar: new AppBar(
          title: new Text(
            'Welcome Home',
          ),
        ),
        body: new Center(
            child: new Text(
               'Welcome Home',
               style: new TextStyle(
                 fontSize: 22.00,
                 fontWeight: FontWeight.bold,
             ),
           )
         ),
      ),
    );
  }
}
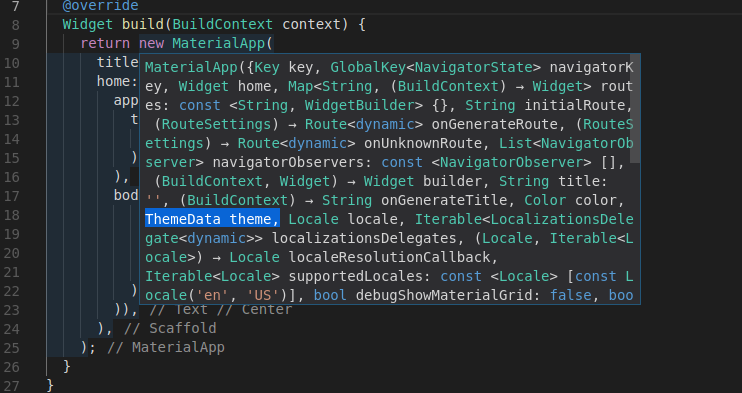
There’s a lot packed within the above code snippet. A lot. You can hover over each class to learn the technicalities along with the allowed properties on each class, and methods if any.
But I’ll do a quick overview:
Widget build(BuildContext context), in English, is saying, whatever comes next, I want you to process that into the page (context). What comes next?MaterialApp()widget. This widget comes with in-built long haul batteries to help us seamlessly build Material Design apps, such as changing the theme, colors, and more, the material design way
- The
homeandtitlewidgets ofMaterialAppcomes in handy next. Thetitleis what you see when on the title bar of your application when in Recent Apps mode on your phone. - The
homewidget is the “the route that is displayed first when the application is started normally”. Since we’ve not seen routing yet, the app will always begin with what’s put at thehomewidget - The
Scaffold()widget, is well, a Scaffold. Allows us to quickly build mobile-like UIs without writing much. It gives us theAppBarandbodyWidgets. Hurray.
Pretty cool right?
What’s Next?
Do you now get a high level picture of what we’re doing here?
It’s the same concepts we know, presented in a different format. You’re not writing your code in JS, CSS and HTML to mix and blend eventually. No!
Rather, Flutter puts all three combined in one.
Saw how the Text()widget was styled? Boom!
In the next article, we consider routing. Adding a routing table, and moving from a page to the other.
Then the last piece in this series will handle the Forms part.
Next Article: Part 2 Flutter – Barebones, Basic Good Looking Login Page, with Routing