Websockets with Django Channels – From start to deployment
With all the AI buzz ongoing, you don’t care. You just wanna create your Django Channels websockets enabled endpoint, and do some real-time communication with your frontend application.
Don’t worry, I needed to include ‘AI’ to boost this article’s rankings (assuming that even works). Blame the game, not the players! 🤣
In this article, you’ll see how to
- setup basic channels use for websockets
- deploy that behind an nginx proxy
You’re ready?
Let’s start
The steps outlined in this article relates to. If you’re reading this in the future, things may have changed, so take note (by future, I mean 3 days after writing this artcle)
- Django 5.0.1
- Channels 4
- Daphne 4
I’m not gonna tell you what Django or Channels are, or how to install them.
Well, to be on the same page, here’s how to install the channels: pip install 'channels[daphne]' This installs channels with the daphne protocol server for
Daphne is a HTTP, HTTP2 and WebSocket protocol server for ASGI and ASGI-HTTP, developed to power Django Channels.
Add daphne to installed apps
INSTALLED_APPS = (
    "daphne",
    "django.contrib.auth",

    ...,

    "channels"
)
Routing
Django has its routing, and with channels, you wanna also add your route at which incoming socket requests will hit and be processed accordingly. To do that, in your project directory (where the settings.py file is), create the asgi.py file if it doesn’t exist
# asgi.py
import os
os.environ.setdefault('DJANGO_SETTINGS_MODULE', 'your_project.settings')

import django
django.setup()

from django.core.asgi import get_asgi_application

from channels.routing import ProtocolTypeRouter, URLRouter

from channels.security.websocket import AllowedHostsOriginValidator
from api.socketmiddleware import TokenAuthMiddleware

from django.urls import path

websocket_urlpatterns = [
    path('ws/chat/', consumers.MyConsumer.as_asgi()),
]

application = ProtocolTypeRouter({
    "http": get_asgi_application(),
    "websocket": AllowedHostsOriginValidator(
        URLRouter(
            websocket_urlpatterns
        )
     )
})
The above code is English. It’s saying, if a request comes in and it’s of the type http, it should proceed the usual path of handling http requests via the get_asgi_application()
Otherwise, if websocket, then go the websocket path.
In the same directory as the settings.py, create a consumers.py file and include this in it
# consumers.py

import json
from channels.generic.websocket import AsyncWebsocketConsumer

class MyConsumer(AsyncWebsocketConsumer):
    async def connect(self):
        await self.accept()

    async def disconnect(self, close_code):
        pass

    async def receive(self, text_data):
        req = json.loads(text_data)
        print(req)
        await self.send(text_data=json.dumps({'message': 'Hello world!'}), close=True)
The last step is to replace the wsgi with asgi like so in the Django settings.py
# WSGI_APPLICATION = 'your_project.wsgi.application'
ASGI_APPLICATION = "your_project.asgi.application"
Run your Django application, and hopefully (without me holding my breath), all should work well.
Now, how do you connect via a frontend? Let’s try that with Angular.
Connect the socket
In Angular, with a service, it can look like this:
// websocket.service.ts

import { Injectable } from '@angular/core';
import { webSocket, WebSocketSubject } from 'rxjs/webSocket';


@Injectable({
  providedIn: 'root',
})
export class WebSocketService {
  private socket$: WebSocketSubject<any>;

  constructor(private auth: AuthService) {

    this.socket$ = webSocket({
      // use wss for https support
      'url': `ws://your-endpoint/ws/chat/`
    });
  }

  sendMessage(message: string): void {
    this.socket$.next({ message });
  }

  getMessage() {
    return this.socket$.asObservable();
  }
}
Then in your component (maybe chat.component.ts, do this:
import { Component } from '@angular/core';
import { Subscription } from 'rxjs';
import { WebSocketService } from '../../services/websocket.service';

@Component({
    selector: 'app-chat',
    templateUrl: './chat.component.html',
    styleUrls: ['./chat.component.scss']
})
export class ChatComponent {
    private subscription!: Subscription;

    constructor(
        private webSocketService: WebSocketService,
    ) { }

    sendMessage(message: string): void {
        this.webSocketService.sendMessage(message)

        this.subscription = this.webSocketService.getMessage().subscribe({
            next: (res: any) => {
                console.log(res);
            },
        });
    }
}
You should get a json response of { "message": "Hello world!" }
With that response in, your communication with the websocket is working fine.
Let’s deploy it!
Deployment
Create a systemd service like so, maybe call the file myproject.daphne.service
[Unit]
Description=daphne daemon for my project
After=network.target

[Service]
WorkingDirectory=/home/username/apps/your_project
ExecStart=/home/username/apps/your_project/venv/bin/daphne -b 0.0.0.0 -p 8000 your_project.asgi:application

[Install]
WantedBy=multi-user.target
Enable, and run the service
systemctl daemon-reload
systemctl enable myproject.daphne.service
systemctl status myproject.daphne
If all works well, you should see:
● myproject.daphne.service - daphne daemon for edu backend
     Loaded: loaded (/etc/systemd/system/myproject.daphne.service; enabled; vendor preset: enabled)
     Active: active (running) since Mon 2024-01-22 16:14:41 UTC; 2 days ago
   Main PID: 2669502 (daphne)
      Tasks: 5 (limit: 1101)
     Memory: 13.0M
        CPU: 1min 44.389s
     CGroup: /user.slice/user-1000.slice/user@1000.service/app.slice/myproject.daphne.service
             └─2669502 /home/username/apps/your_project/venv/bin/python3 /home/username/apps/your_project/venv/bin/daphne -b 0.0.0.0 -p 8000 your_project.asgi:application

Jan 23 18:31:48 ubuntu-verifine daphne[2669502]: Not Found: /
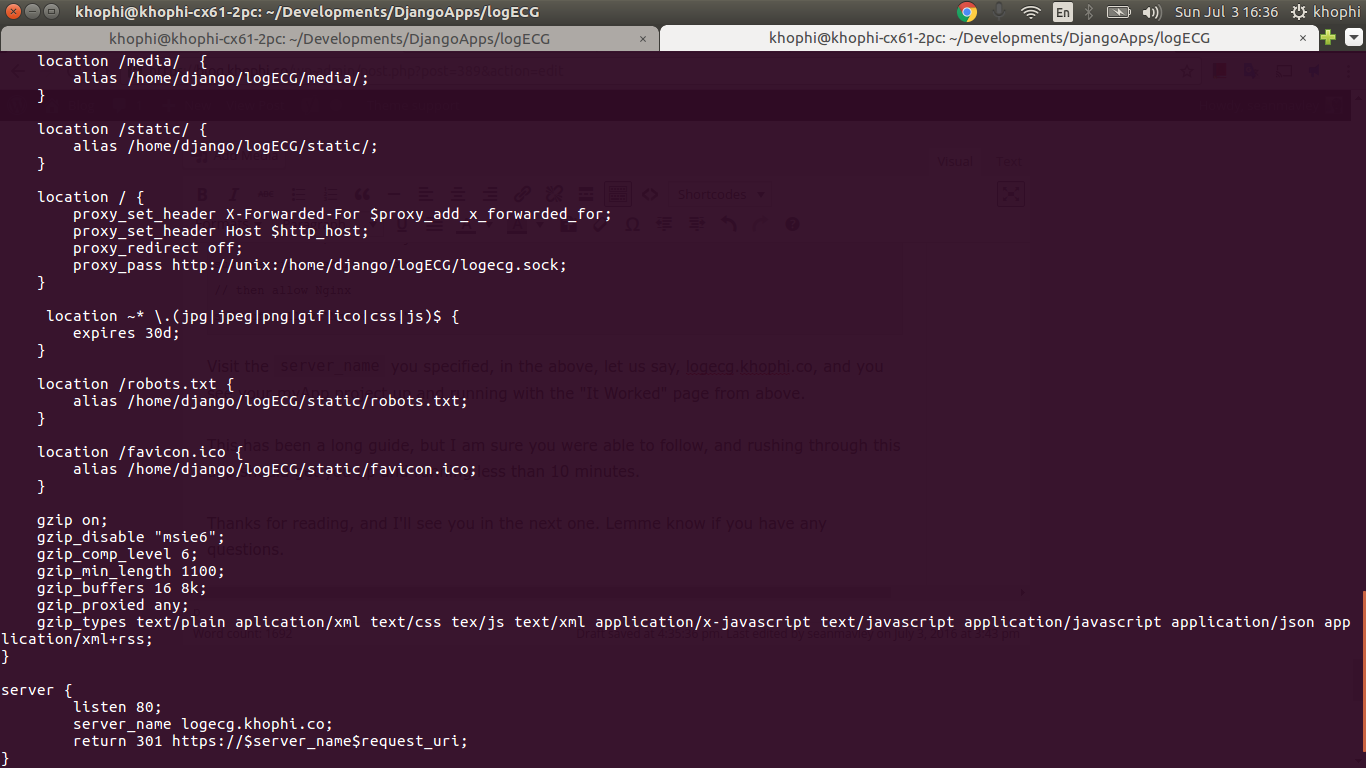
With the Django running daphne up and running, let’s proxy Nginx requests to it accordingly
Remember that, Daphne is a combined server software, capable of handling both normal HTTP requests, and that of websockets.
You do NOT need to proxy to two separate endpoints. In our example above, BOTH websockets and HTTP requests will all go to the SAME port of 8000, running daphne
upstream django-backend {
    server 127.0.0.1:8000;
}

server {
    server_name my.domain;
    client_max_body_size 10m;
    root /home/username/apps/your_project;

    error_log /var/log/nginx/mydomain_error.log;
    access_log /var/log/nginx/mydomain_access.log;

    location /media/  {
        alias /home/username/apps/your_project/media/;
    }

    location /static/ {
        alias /home/username/apps/your_project/static/;
    }

    location / {
        proxy_set_header X-Forwarded-For $proxy_add_x_forwarded_for;
        proxy_set_header Host $http_host;

        proxy_set_header Upgrade $http_upgrade;
        proxy_set_header Connection "upgrade";
        proxy_set_header X-Real-IP $remote_addr;

        proxy_http_version 1.1;
        proxy_connect_timeout 1000s;
        proxy_read_timeout 1000s;
        proxy_send_timeout 1000s;
        proxy_set_header Connection "";
        proxy_redirect off;
        proxy_pass http://django-backend;
    }

    listen 443 ssl; # managed by Certbot
    ssl_certificate /etc/letsencrypt/live/my.domain/fullchain.pem; # managed by Certbot
    ssl_certificate_key /etc/letsencrypt/live/my.domain/privkey.pem; # managed by Certbot
    include /etc/letsencrypt/options-ssl-nginx.conf; # managed by Certbot
    ssl_dhparam /etc/letsencrypt/ssl-dhparams.pem; # managed by Certbot
}

server {
    if ($host = my.domain) {
        return 301 https://$host$request_uri;
    } # managed by Certbot

    server_name my.domain;
    listen 80;
    return 404; # managed by Certbot
}
const takeNote = “Remember, as long as you're using Nginx proxy that has HTTPS, your request to the websocket MUST be using the wss://... prefix, NOT ws://"
I repeat, takeNote
Conclusion
Lemme know in the comments what you think. Hope to catch you in the next one.