Google OAuth2 with Angular 17+ and Django 5+ – The Whole Show!
Welcome. Below is what you’ll be achieving at the end of this article
One of the confusing steps for beginner full stack devs is end to end OAuth via API using Angular as your frontend, and Django with Rest Framework for API. As you are aware, there are layers to API authentication with OAuth, and it can seem tricky.
The entire code used in this tutorial is available on Github
In this article, I’ll go over all the pieces of code that come together to get a user logged in, and the aftermath of that, how to store details necessary for stateful communications back and forth with the server from the frontend.
A few assumptions I have about you the reader, at the moment, namely, you are familiar with
- Django i.e setting up your projects and apps
- Angular i.e creating an app and its related modules and components
- the Terminal and IDE (I’ll be using vscode)
- WSL2 via the vscode above
At the end of this article, you’ll learn the various pieces of tools that come together to make OAuth2 with Angular 17+ and Django 5+
I’ll be doing minimal explanations. If a code doesn’t make sense, try using an AI assistant to break it down further.
Let’s set the stage with Django
Let’s install Django from the ground up. The steps below assume you’ve opened your vscode, opened the terminal, and you’re connected to WSL.
You’re about to install the various packages needed to complete the authentication flow at the server-side – Django’s side
$ sudo apt update && sudo apt dist-upgrade
$ sudo apt install python3-dev python3-venv
$ cd ~/ && mkdir -p Development/backend
$ cd Development/backend
$ python3 -m venv venv
$ source venv/bin/activate
(venv) $ pip install django
(venv) $ pip install djangorestframework markdown django-filter
(venv) $ pip install google google-api-core google-auth
(venv) $ pip install django-cors-headers
(venv) $ pip install djangorestframework-simplejwt
(venv) $ django-admin startproject project
(venv) $ cd project
(venv) $ python manage.py startapp main
(venv) $ python manage.py runserver

Watching for file changes with StatReloader
Performing system checks...

System check identified no issues (0 silenced).

You have 18 unapplied migration(s). Your project may not work properly until you apply the migrations for app(s): admin, auth, contenttypes, sessions.
Run 'python manage.py migrate' to apply them.
April 25, 2024 - 10:09:50
Django version 5.0.4, using settings 'project.settings'
Starting development server at http://127.0.0.1:8000/
Quit the server with CONTROL-C.
Note: Some of the commands above, you gotta massage them to your taste, such as the location in which the project is created. You can put your project wherever you want.
At this point, you should have a screen like this in your browser (by the way, localhost:8000 = 127.0.0.1)

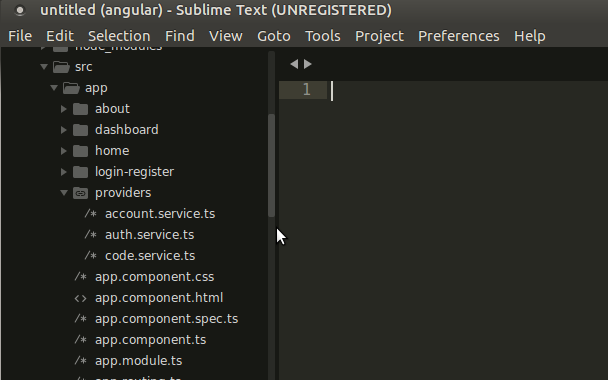
And your vscode should look like this
Now, from here on out, I’m going to dump some codes on you. Again, you can use any of your favorite AI assistant to break down every letter down for you and what they mean. I’ll just talk about the high level parts.
Remember, we want to OAuth via API, and so we need to have an endpoint to trigger the parts needed to be handled on the server.
Now, the codes. You’ll be editing 3 files
project/settings.pymain/views.pymain/urls.pymain/serializers.pymain/models.py
Okay, good, here we go:
project/settings.py – update the file with these parts. For how the full file content should look like, see the file in the repository here: [LINK TO GITHUB]
# Other content here

ALLOWED_HOSTS = ["localhost", "127.0.0.1"]

INSTALLED_APPS = [
    'django.contrib.admin',
    'django.contrib.auth',
    'django.contrib.contenttypes',
    'django.contrib.sessions',
    'django.contrib.messages',
    'django.contrib.staticfiles',

    'rest_framework',
    'djangorestframework-simplejwt',
    'djoser',

    'main',
]

AUTH_USER_MODEL = "main.User"


SIMPLE_JWT = {
    'AUTH_HEADER_TYPES': ('JWT',),
    "ACCESS_TOKEN_LIFETIME": timedelta(days=2),
}

SITE_ID = 1

MIDDLEWARE = [
    'django.middleware.security.SecurityMiddleware',
    'django.contrib.sessions.middleware.SessionMiddleware',
    "corsheaders.middleware.CorsMiddleware",
    'django.middleware.common.CommonMiddleware',
    'django.middleware.csrf.CsrfViewMiddleware',
    'django.contrib.auth.middleware.AuthenticationMiddleware',
    'django.contrib.messages.middleware.MessageMiddleware',
    'django.middleware.clickjacking.XFrameOptionsMiddleware',
    'allauth.account.middleware.AccountMiddleware'
]

REST_FRAMEWORK = {
    'DEFAULT_AUTHENTICATION_CLASSES': (
        'rest_framework.authentication.TokenAuthentication',
        'rest_framework_simplejwt.authentication.JWTAuthentication',
    ),

    'DEFAULT_PERMISSION_CLASSES': [
        'rest_framework.permissions.IsAuthenticated',
    ]
}

CORS_ORIGIN_ALLOW_ALL = True
CSRF_TRUSTED_ORIGINS = [
    "http://localhost:4200",
    "http://127.0.0.1:4200",
]
main/views.py should look like this:
Again, you can see the contents of the views.py file on the github repository for this article
import os
from rest_framework.views import APIView
from rest_framework_simplejwt.serializers import TokenObtainPairSerializer
from rest_framework.response import Response
from .models import User
from .serializers import UserSerializer
from google.oauth2 import id_token
from google.auth.transport import requests
from rest_framework import status
import django.utils.timezone as timezone
from rest_framework.permissions import AllowAny, IsAuthenticated
from django.contrib.auth import get_user_model
from .serializers import UserSerializer

CLIENT_ID = os.environ.get('GOOGLE_OAUTH2_CLIENT_ID')

def generate_tokens_for_user(user):
    """
    Generate access and refresh tokens for the given user
    """
    serializer = TokenObtainPairSerializer()
    token_data = serializer.get_token(user)
    access_token = token_data.access_token
    refresh_token = token_data
    return access_token, refresh_token


class GoogleLoginApi(APIView):
    permission_classes = [AllowAny]

    def get(request, *args, **kwargs):
        Response({
            'message': 'Response'
        }, status=status.HTTP_200_OK)

    def post(self, request, *args, **kwargs):
        google_jwt = request.data.get('jwt')
        try:
            # Specify the CLIENT_ID of the app that accesses the backend:
            idinfo = id_token.verify_oauth2_token(
                google_jwt, requests.Request(), CLIENT_ID)

            if idinfo['iss'] not in ['accounts.google.com', 'https://accounts.google.com']:
                raise ValueError('Wrong issuer.')

            # ID token is valid. Get the user's Google Account ID from the decoded token.
            user_id = idinfo['sub']
            user_email = idinfo['email']
            # Verify that the access token is valid for this app.
            if idinfo['aud'] != CLIENT_ID:
                raise ValueError('Wrong client ID.')

            # Check if user exists in the database
            try:
                user = User.objects.get(email=user_email)
                user.last_login = timezone.now()
                user.save()
                # Generate access and refresh tokens for the user
                access_token, refresh_token = generate_tokens_for_user(user)
                response_data = {
                    'user': UserSerializer(user).data,
                    'access_token': str(access_token),
                    'refresh_token': str(refresh_token)
                }
                return Response(response_data)
            except User.DoesNotExist:
                username = user_email.split('@')[0]
                first_name = idinfo.get('given_name', '')
                last_name = idinfo.get('family_name', '')
                photo = idinfo.get('photoUrl', '')

                user = User.objects.create(
                    username=username,
                    email=user_email,
                    first_name=first_name,
                    last_name=last_name,
                    registration_method='google',
                    photo=photo,
                )

                access_token, refresh_token = generate_tokens_for_user(user)
                response_data = {
                    'user': UserSerializer(user).data,
                    'access_token': str(access_token),
                    'refresh_token': str(refresh_token)
                }
                return Response(response_data)

        except ValueError:
            return Response({
                'error': 'Invalid token'
            }, status=status.HTTP_400_BAD_REQUEST)
Your main/urls.py should look like this:
from django.urls import path
from .views import GoogleLoginApi

urlpatterns = [
      path("login/google/", GoogleLoginApi.as_view(),
         name="login-with-google"),
]
And your project/urls.py should look like this too:
from django.contrib import admin
from django.urls import path, include

urlpatterns = [
    path('admin/', admin.site.urls),
    path('auth/', include('main.urls')),
]
Then go into your main/models.py file and update with this:
from django.contrib.auth.models import AbstractUser
from django.db import models

REGISTRATION_CHOICES = [
    ('email', 'Email'),
    ('google', 'Google'),
]


class User(AbstractUser):
    email = models.CharField(
        max_length=250, unique=True, null=False, blank=False)
    registration_method = models.CharField(
        max_length=10, choices=REGISTRATION_CHOICES, default='email')
    photo = models.URLField(blank=True, default='')
    country = models.CharField(max_length=100, default='', blank=True)
    about = models.TextField(blank=True, default='')

    def __str__(self):
        return self.username
Next, create a main/serializers.py file, update with this:
from rest_framework import serializers
from .models import User


class UserSerializer(serializers.ModelSerializer):

    class Meta:
        model = User
        fields = ['username', 'first_name', 'last_name',
                  'email', 'country', 'about', 'photo']
In the same folder where manage.py is, create a new file called .env and update with this
GOOGLE_OAUTH2_CLIENT_ID='<your-client-id>.apps.googleusercontent.com'
GOOGLE_OAUTH2_CLIENT_SECRET='<your-client-secret>'
Wheew!
You’ve created a lot of files, and made lots of changes. Don’t worry. They all come together to get things moving.
In your terminal, now run
(venv) $ python manage.py makemigrations
(venv) $ python manage.py migrate
(venv) $ python manage.py runserver
If all goes well, you should have something like this, when you visit http://localhost:8000/auth/login/google/
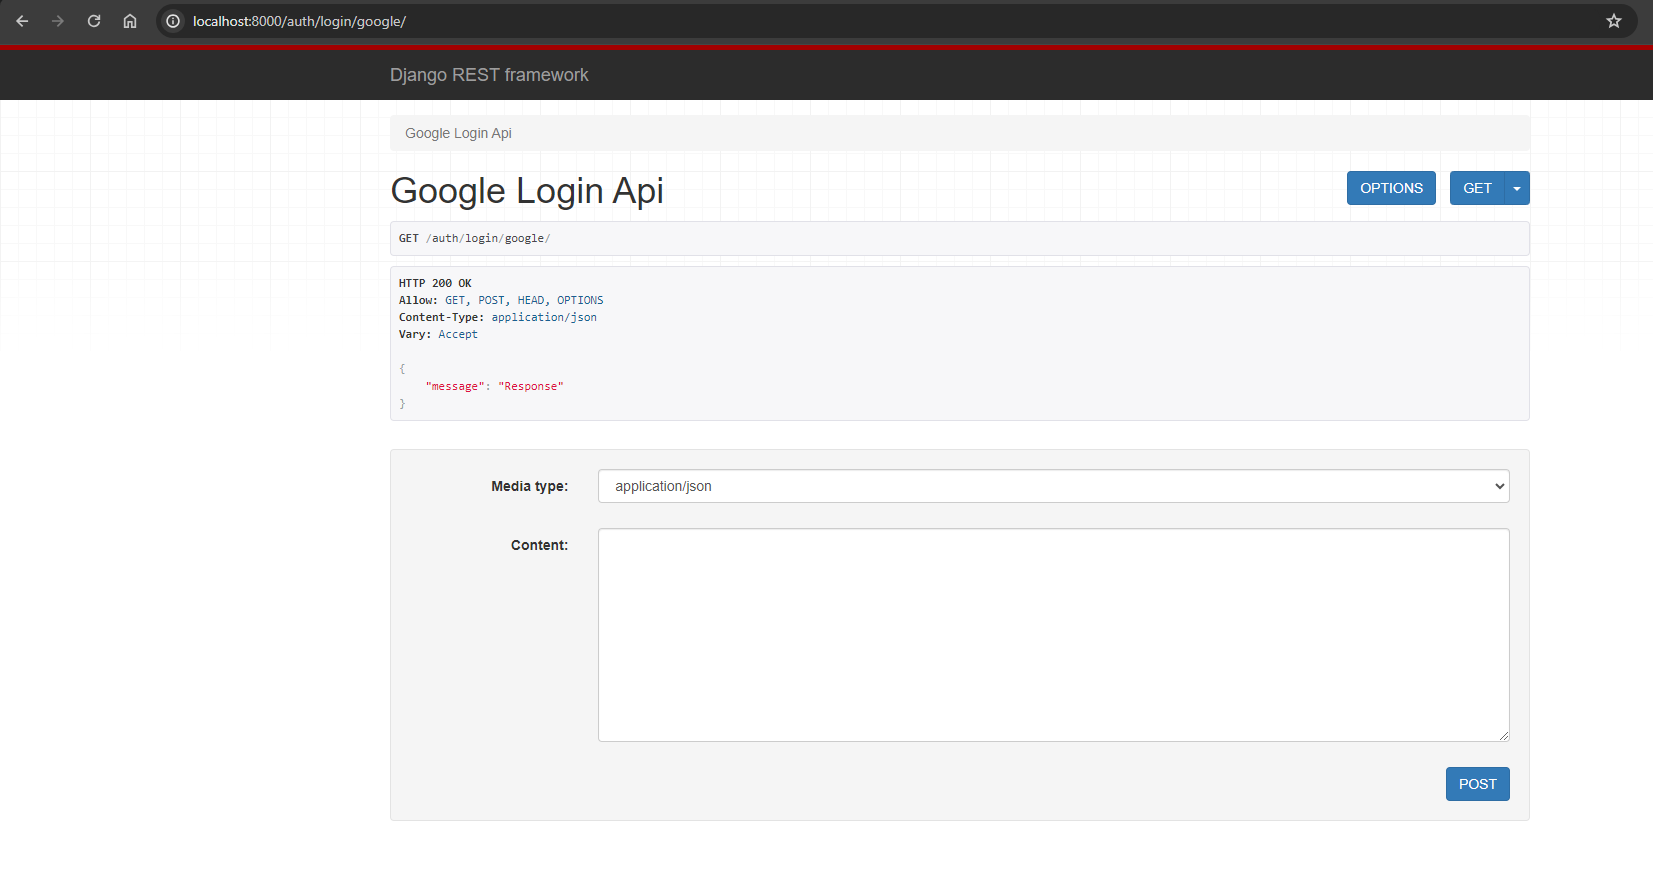
If you get to this page without any issues, hi-five! The backend, Django side of things seem to be in good shape then.
Let’s move onto the frontend part, using Angular 17+
Angular 17+
Since Angular now supports bun as the runtime (instead of npm), I’ll be using that for our Angular.
Here you go
$ cd ~/Development
$ bun -v
1.1.0
$ ng new frontend
? Which stylesheet format would you like to use? CSS             [
https://developer.mozilla.org/docs/Web/CSS                     ]
? Do you want to enable Server-Side Rendering (SSR) and Static Site Generation
(SSG/Prerendering)? Yes
After running the above commands, and selecting those answers, you should have your new angular application initialized
$ cd frontend
$ ng config cli.packageManager bun
$ ng serve
.....
Application bundle generation complete. [7.388 seconds]

Watch mode enabled. Watching for file changes...
  ➜  Local:   http://localhost:4200/
  ➜  press h + enter to show help
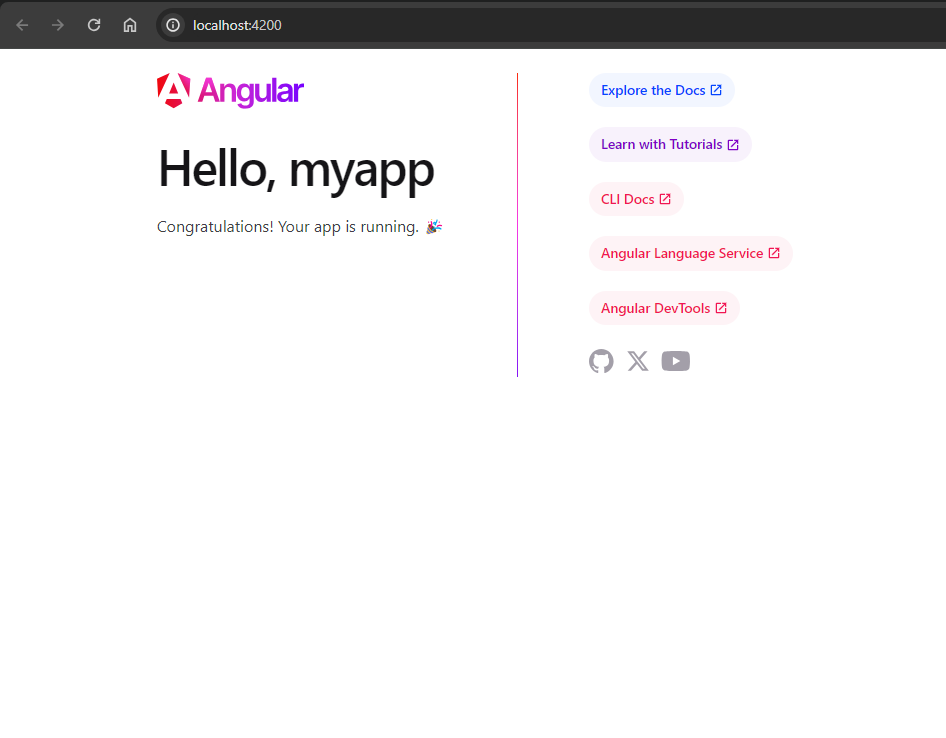
You should have your server running and visit it in the browser at http://localhost:4200
You should get a result like this:
Next up, let’s use the Angular CLI to create some boilerplate code for us
$ ng g m auth --routing
$ ng g c auth/login
$ ng g s services/auth
$ ng g g auth/auth
? Which type of guard would you like to create? CanActivate

$ bun install @abacritt/angularx-social-login
In the auth/login/login.component.html file, add this
<div class="container mt-5">
  <div class="row justify-content-center">
    <div class="progress-bar mb-3" *ngIf="busy">
      <div class="progress-bar-value"></div>
    </div>
    <div class="col-sm-12 col-md-6 mt-5">
      <div class="card p-5 shadow p-3 mb-5 bg-body rounded">
        <div class="card-body text-center">
          <img src="https://webapp.ai/wp-content/uploads/2023/07/WhatsApp-Image-2023-07-08-at-22.17.22-edited.jpeg"
            alt="" class="img-fluid mb-5 w-25">
          <h4 class="card-title lead mb-4">Login to Website</h4>
          <p class="card-text mb-4">
            Hi, login with your Google account to continue.
          </p>
          <p class="align-self-center bg-light">
            <asl-google-signin-button type='standard' size='large' text="continue_with" shape="rectangular"
              logo_alignment="left" class="mb-5"></asl-google-signin-button>
          </p>
        </div>
        <div class="footer text-center mt-3">
          <a routerLink="/">About</a> | <a routerLink="/t/privacy">Privacy</a> | <a routerLink="/t/terms">Terms</a>
        </div>
      </div>
    </div>
  </div>
</div>
Your login.component.ts file should look like this
import { Component } from '@angular/core';
import { HttpClient } from "@angular/common/http";
import { AuthService } from '../../services/auth.service';
import { Router } from '@angular/router';
import { ToastService } from '../../services/toast.service';
import { SocialAuthService } from "@abacritt/angularx-social-login";

export interface iSocialAuth {
  user: { first_name: string, last_name: string, email: string },
  access_token: string,
  refresh_token: string,
}

@Component({
  selector: 'app-login',
  templateUrl: './login.component.html',
  styleUrl: './login.component.scss'
})
export class LoginComponent {
  user!: any;
  loggedIn!: boolean;
  error!: any;
  busy!: boolean;

  password!: string;
  username!: string;

  constructor(private socialAuth: SocialAuthService, private auth: AuthService, private http: HttpClient, private route: Router, private toast: ToastService) { }

  ngOnInit() {
    if (this.auth.isAuth()) {
      this.route.navigate(['/chat'])
    }

    this.socialAuth.authState.subscribe((res) => {
      this.busy = true;
      this.loggedIn = (res != null);

      this.auth.socialLogin(res.idToken)
        .subscribe({
          next: (res) => {
            this.busy = false;
            this.route.navigate(['/chat'])
          },
          error: (error) => {
            this.toast.show("Something ain't right!", `The error is: ${error.error}. Let us know. We will look into it`)
          }
        })
    });
  }
}
You know what, let’s switch it up. Below is the video that completes this tutorial. Continue watching below
The entire code used in this tutorial is available on Github