Flutter – Barebones, Basic Good Looking Login Page, with Routing [Part 3]
Welcome. Going through the Flutter – Barebones, Basic Good Looking Login Page part 1 and 2 gave us a fair idea of what Flutter is, and how to use it. If you’ve not seen the part 1 and 2 yet, please do so, as this part 3 follows from where we left off.
Login Form
When we ended part 2, we had this in our login.dart file:
class LoginPage extends StatelessWidget {
  @override
  Widget build(BuildContext context) {
    return new MaterialApp(
      title: 'Login Page',
      home: new Scaffold(
        appBar: new AppBar(
          title: new Text(
            'Login Page',
          ),
        ),
        body: new Container(
          padding: EdgeInsets.only(top: 48.0, left: 24.0, right: 24.0),
          child: new ListView(
            children: <Widget>[
              new Center(
                child: new Text(
                  'Welcome to Login Page',
                  style: new TextStyle(
                    fontSize: 22.00,
                    fontWeight: FontWeight.bold,
                  ),
                ),
              ),
              new SizedBox(height: 34.0,),
              new RaisedButton(
                color: Colors.lightBlueAccent,
                child: new Text(
                  'Go to Homepage',
                  style: new TextStyle(
                    color: Colors.white,
                    fontSize: 18.0,
                  ),
                ),
                onPressed: () {
                  Navigator.pushNamed(context, '/');
                },
              )
            ],
          ),
        ),
      ),
    );
  }
}
All the changes for this part will be happening within the login.dart, unless otherwise stated.
So let’s add this:
import 'package:flutter/material.dart';

class _LoginData {
  String email = '';
  String password = '';
}

class LoginPage extends StatelessWidget {

  _LoginData _data = new _LoginData();

  @override
  Widget build(BuildContext context) {
  ....
  }
}
Basically, we’re initializing an object in which we’ll store data from the form fields in. As you notice, we’ll need only 2 fields, namely, email and password
Pretty straightforward, right? Now let’s create the email field. How we create form fields in Flutter is fascinating. At least it fascinates me.
...

class _LoginData {
  String email = '';
  String password = '';
}

class LoginPage extends StatelessWidget {

  _LoginData _data = new _LoginData();

  @override
  Widget build(BuildContext context) {

    final email = TextFormField(
      keyboardType: TextInputType.emailAddress,
      autofocus: false,
      onSaved: (String value) {
        this._data.email = value;
      },
      decoration: InputDecoration(
        hintText: 'Email',
      ),
    );
  ....
  }
}
Cool!
The above, in Angular, would look something like this, roughly:
<input type="email" name="email" [(ngModel)]="email" placeholder="Email" autofocus="false">
Then the password field:
...

class _LoginData {
  String email = '';
  String password = '';
}

class LoginPage extends StatelessWidget {

  _LoginData _data = new _LoginData();

  @override
  Widget build(BuildContext context) {

    final email = TextFormField(
      keyboardType: TextInputType.emailAddress,
      autofocus: false,
      onSaved: (String value) {
        this._data.email = value;
      },
      decoration: InputDecoration(
        hintText: 'Email',
      ),
    );

    final password = TextFormField(
      autofocus: false,
      obscureText: true,
      onSaved: (String value) {
        this._data.password = value;
      },
      decoration: InputDecoration(
        hintText: 'Password',
      ),
    );

  ....
  }
}
Now that we have both fields available, it’s time to use them. But first, a few tweaks to our body widget on the Scaffold widget:
...

class LoginPage extends StatelessWidget {
  _LoginData _data = new _LoginData();

  @override
  Widget build(BuildContext context) {
    final email = TextFormField(
     ...
    );

    final password = TextFormField(
     ...
    );

    return new MaterialApp(
      title: 'Login Page',
      home: new Scaffold(
        appBar: new AppBar(
          title: new Text(
            'Login Page',
          ),
        ),
        body: new Center(
          child: new Form(
            child: new ListView(
              children: <Widget>[
                // The form fields shall be here.
              ],
            ),
          ),
        ),
      ),
    );
  }
}
Noticed the changes made?
First, we’ve restructured the bodywidget. Added a Formwidget under the Center widget, in which we put the list of fields as children.
Let’s do that and see what we have so far.
Update the bodywidget to have this:
....
        body: new Center(
          child: new Form(
            child: new ListView(
              children: <Widget>[
                email,
                SizedBox(height: 8.0),
                password,
              ],
            ),
          ),
        ),
...
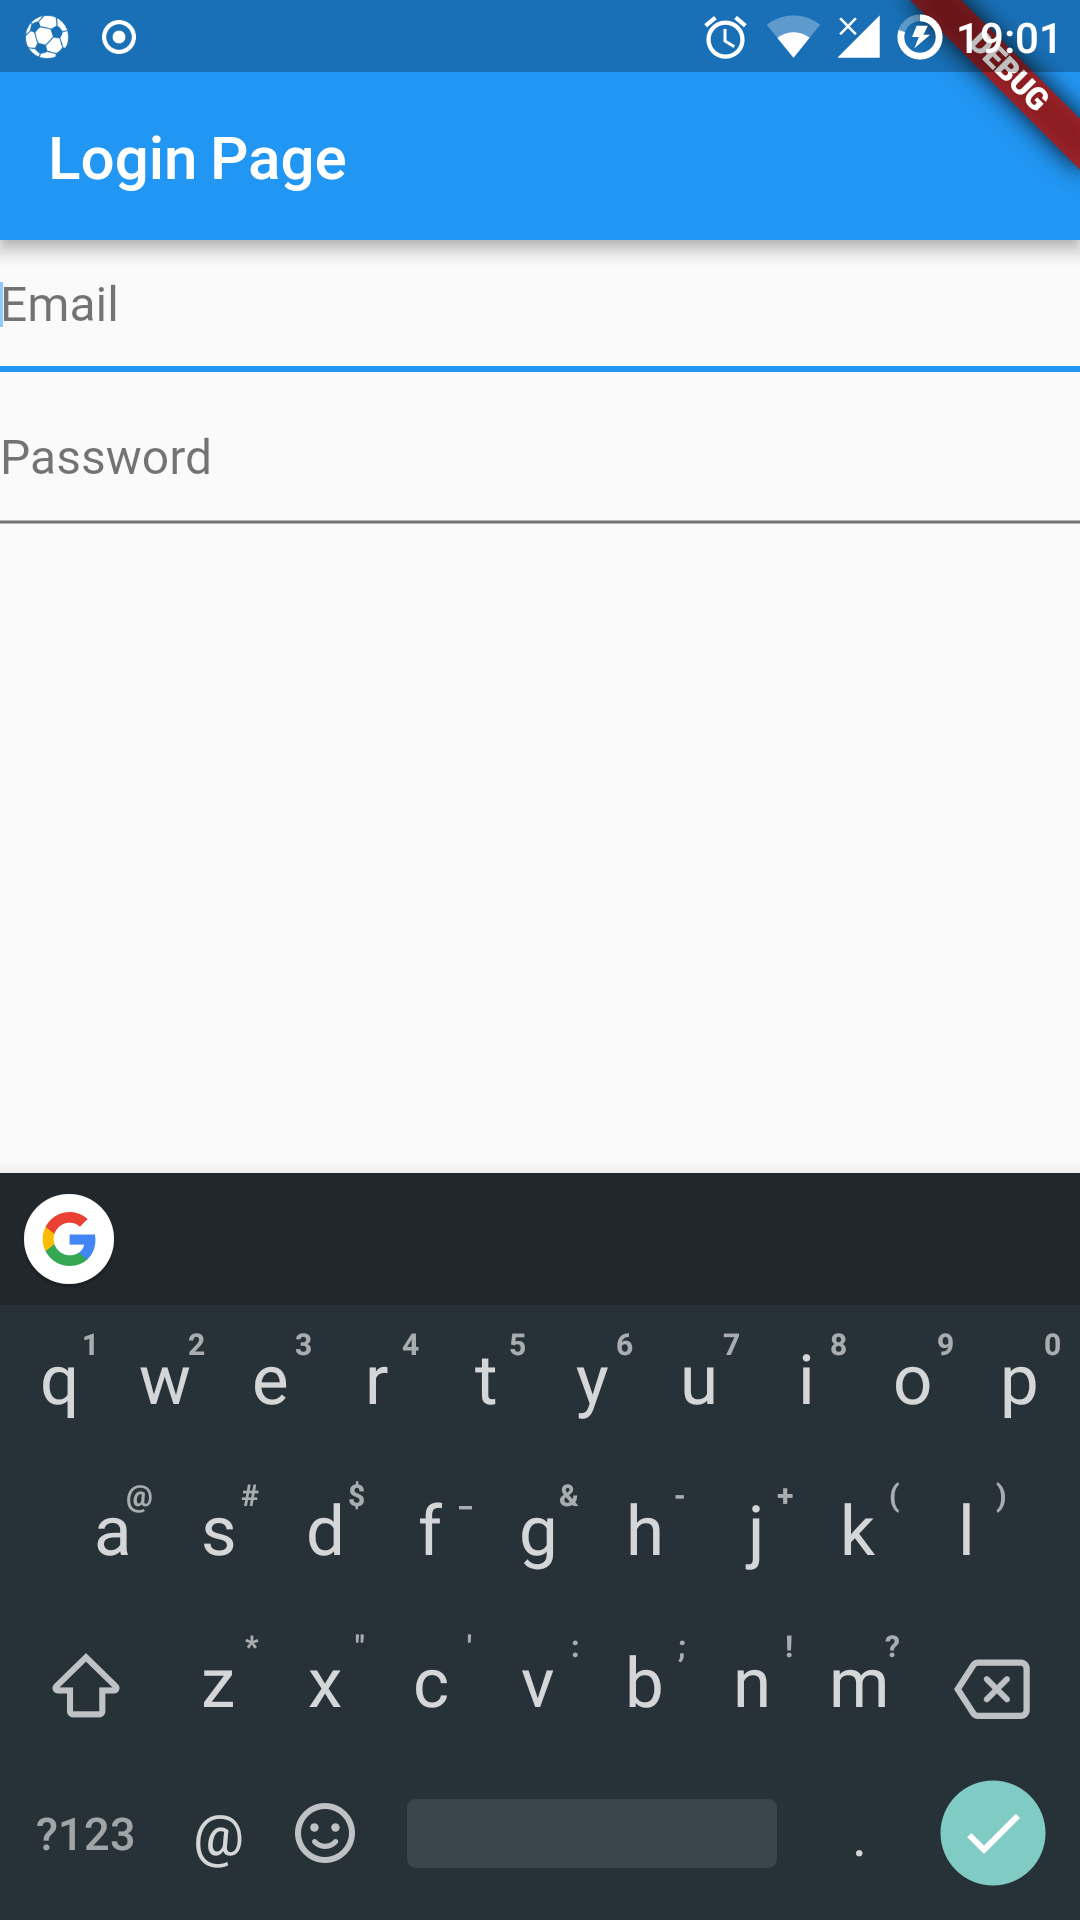
If your got something similar, let’s do some adjustments then.
       body: new Center(
          child: new Form(
            child: new ListView(
              // shrinkWrap: true,
              padding: EdgeInsets.only(top: 80.0, left: 24.0, right: 24.0),
              children: <Widget>[
                email,
                SizedBox(height: 16.0),
                password,
              ],
            ),
          ),
        ),
Let’s add a logo.
Below the final password = ... part, add this:
....

    final logo = Image.asset(
      'images/flutter.jpg',
      fit: BoxFit.contain,
      height: 160.0,
    );

...
To get the above to work, we need to declare the asset in Flutter’s assets declaration in the configuration file. Let’s do that.
Go into the pubspec.yaml and look for the section assets under flutter. Uncomment the lines there, and update with this:
flutter:
  ...

 # To add assets to your application, add an assets section, like this:
  assets:
   - images/flutter.jpg

...
Now let’s go back to the login.dart file, and update to include the logo
So our bodywidget should now look like this:
       body: new Center(
          child: new Form(
            child: new ListView(
              shrinkWrap: true,
              padding: EdgeInsets.only(left: 24.0, right: 24.0),
              children: <Widget>[
                logo,
                SizedBox(height: 48.0),
                email,
                SizedBox(height: 16.0),
                password,
              ],
            ),
          ),
        ),
With these fundamentals, why not try achieving the rest? Can you make it look like the screenshot below?
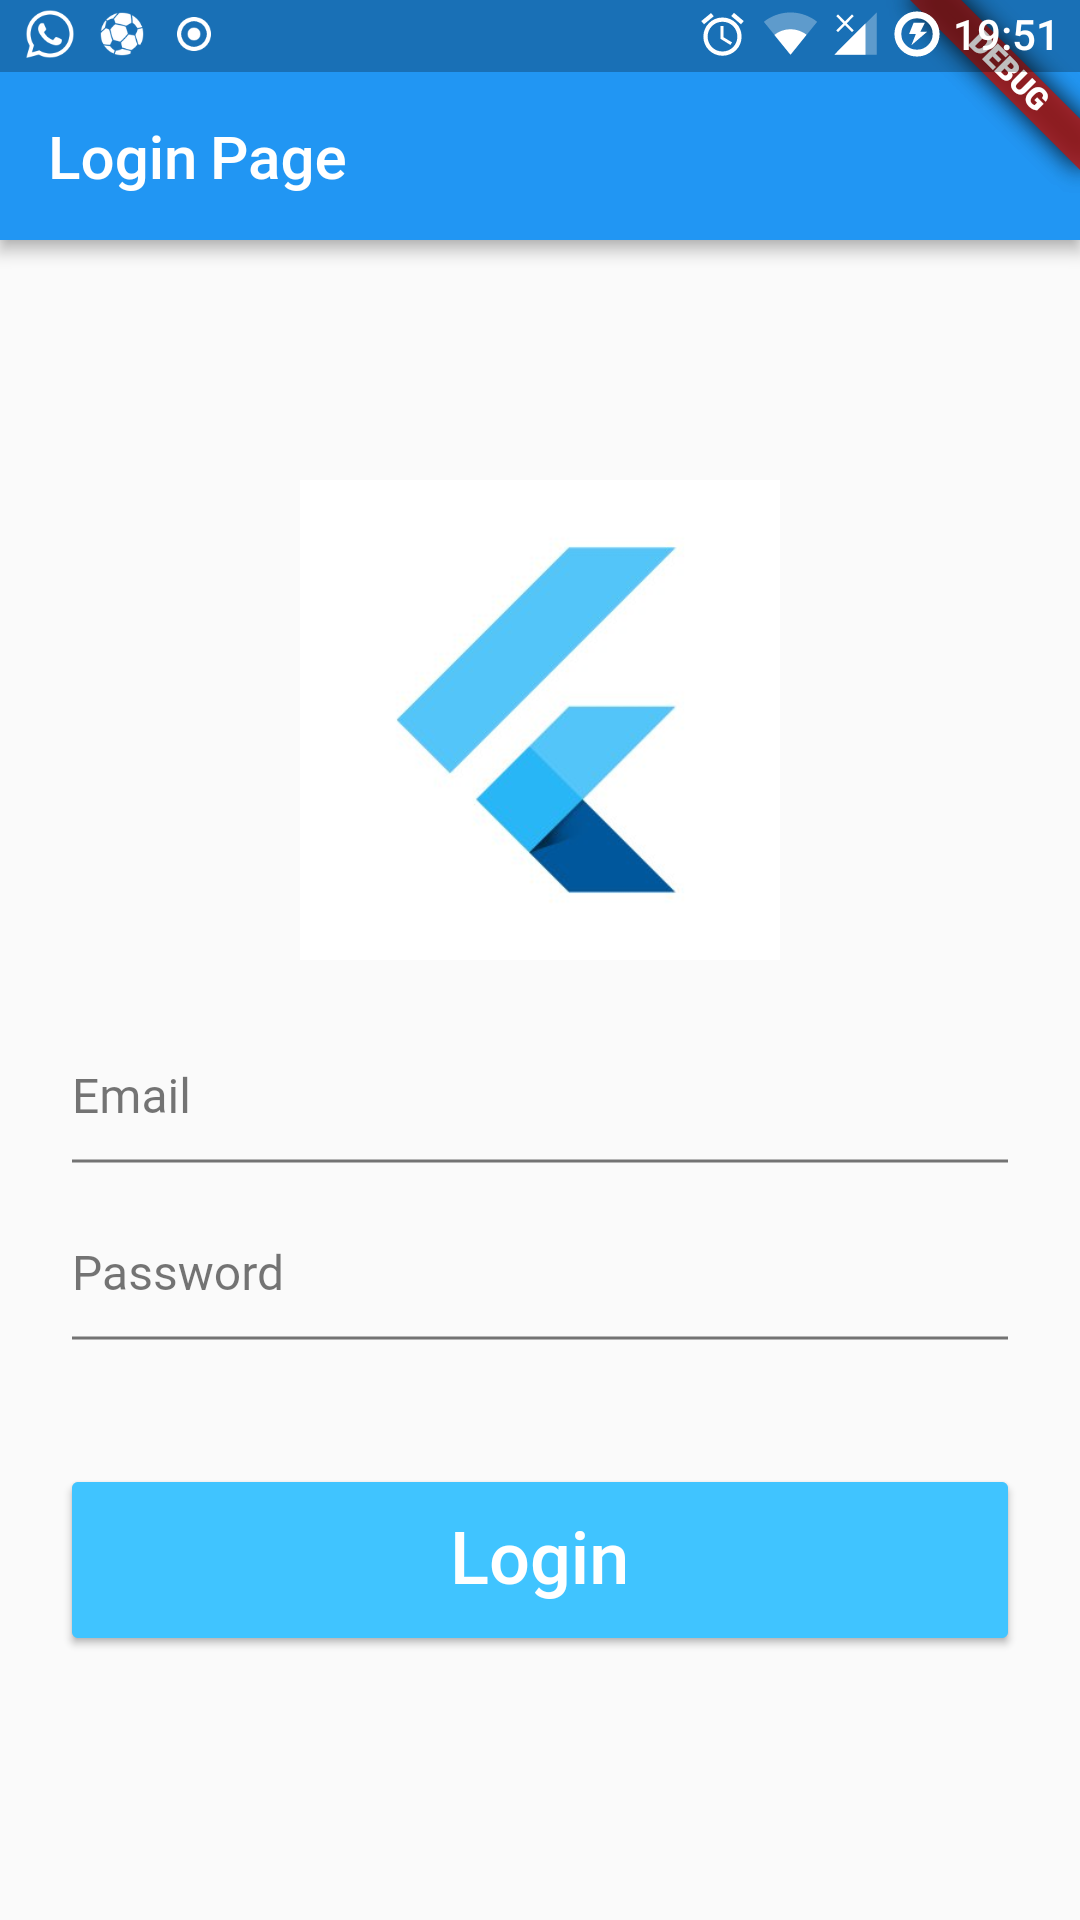
To achieve the above, here’s the code used:
import 'package:flutter/material.dart';

class _LoginData {
  String email = '';
  String password = '';
}

class LoginPage extends StatelessWidget {
  _LoginData _data = new _LoginData();
  final GlobalKey<FormState> _formKey = new GlobalKey<FormState>();

  void submit() {
    if (this._formKey.currentState.validate()) {
      _formKey.currentState.save();

      print('Printing the login data.');
      print('Email: ${_data.email}');
      print('Password: ${_data.password}');
    }
  }

  @override
  Widget build(BuildContext context) {
    final email = TextFormField(
      keyboardType: TextInputType.emailAddress,
      autofocus: false,
      onSaved: (String value) {
        this._data.email = value;
      },
      decoration: InputDecoration(
        hintText: 'Email',
      ),
    );

    final password = TextFormField(
      autofocus: false,
      obscureText: true,
      onSaved: (String value) {
        this._data.password = value;
      },
      decoration: InputDecoration(
        hintText: 'Password',
      ),
    );

    final logo = Image.asset(
      'images/flutter.jpg',
      fit: BoxFit.contain,
      height: 160.0,
    );

    final signupButton = RaisedButton(
      color: Colors.lightBlueAccent,
      padding: EdgeInsets.symmetric(vertical: 12.0),
      child: Text(
        'Login',
        style: TextStyle(
          color: Colors.white,
          fontSize: 24.0,
        ),
      ),
      onPressed: () {
        this.submit();
        // Navigator.of(context).pushNamed('/');
      },
    );

    return new MaterialApp(
      title: 'Login Page',
      home: new Scaffold(
        appBar: new AppBar(
          title: new Text(
            'Login Page',
          ),
        ),
        body: new Center(
          child: new Form(
            key: this._formKey,
            child: new ListView(
              padding: EdgeInsets.only(top: 80.0, left: 24.0, right: 24.0),
              children: <Widget>[
                logo,
                SizedBox(height: 24.0),
                email,
                SizedBox(height: 16.0),
                password,
                SizedBox(height: 48.0),
                signupButton,
              ],
            ),
          ),
        ),
      ),
    );
  }
}
Conclusion
Remember, the three part articles scratched just the surface of what’s there to Flutter. With the tiny features shown here from Flutter, go out there, and have fun.