Start your Internet Radio with Icecast2 and Mixxx
Setting up an internet radio today has never been easier. At least, there is Icecast2. In less than 5 minutes, let’s see how to bring up an internet radio, and start streaming with Mixxx player.
Icecast will be installed on our Server, then the Mixxx player will beam our broadcast to the server, from which listeners will tap the audio from.
Let’s do this.
You can follow the steps below on your local machine for testing purposes, or if you wish the world to also tune in, you could spin up a DigitalOcean droplet, and configure easily and broadcast!
Install Icecast
There’re different versions of Icecast. This tutorial uses the Icecast version 2+, thus the word, Icecast2. Consider any mention of Icecast or Icecast2 to refer to version 2+ in this article.
On the server, simply go:
sudo apt install icecast2
Done!
Maybe not yet. Icecast has the Admin section, where you can do, well, Administrative stuff. That URL is at domain:port/admin.
Plus, whoever wants to connect and broadcast a show via your Icecast will have to be able to authenticate, so to speak. If you wish to have anyone, anywhere be able to broadcast via your server, you might be decided to share the credentials with them.
Now, let’s make this clear. We’ll be setting two passwords: One for admin access, and the other for when someone wants to broadcast to our server. So, shall we!
Configure Icecast & Run
Before editing the Icecast configuration file, it is recommended you make a backup of the original first.
$ sudo cp /etc/icecast2/icecast.xml /etc/icecast2/icecast.backup.xml
$ sudo nano /etc/icecast2/icecast.xml
<!-- Look for these places and update to your taste -->

<location>Densuano, Koforidua, Ghana</location>
<admin>devradio@khophi.co</admin>

<!-- Then this part about Authentication -->

    <authentication>
        <!-- Sources log in with username 'source' -->
        <source-password>yourPasswordHere</source-password>
        <!-- Relays log in with username 'relay' -->
        <relay-password>yourPasswordHere</relay-password>

        <!-- Admin logs in with the username given below -->
        <admin-user>admin</admin-user>
        <admin-password>adminPassword</admin-password>
    </authentication>

<!--
Then last but not least, choose your hostname and port
I'm using 'radio.khophi.co', after configuring my DNS to understand
-->

<hostname>radio.khophi.co</hostname>

    <listen-socket>
        <port>8015</port>
    </listen-socket>
After you’ve double-checked your configurations,
sudo service icecast2 restart
Then if you have a firewall, such as ufw blocking incoming traffic through certain ports only, you might wanna allow the port 8015, like so
sudo ufw allow 8015/tcp
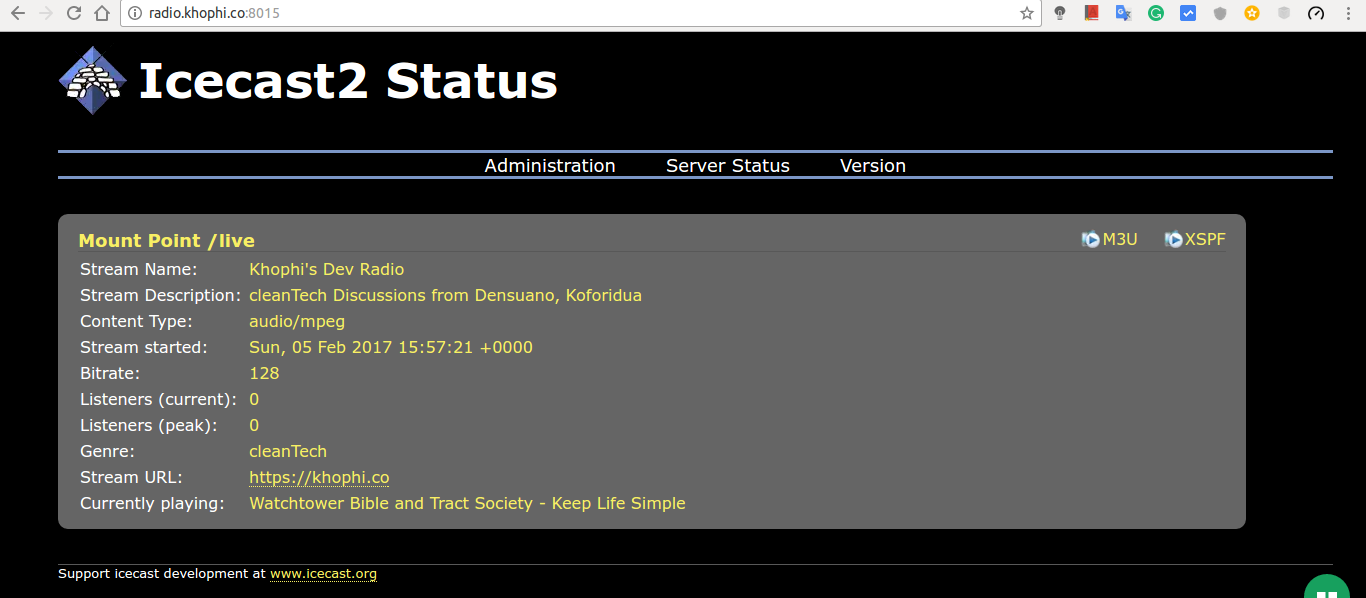
You should be able to access your Icecast2 server in the browser like so:

You can move around, such as visit the Admin page, and other pages. The Admin page will obviously request for authentication, the one you provided in the icecast2.xml configuration file.
Broadcast Transmission with Mixxx
Take a look at this screenshot first, and let’s discuss
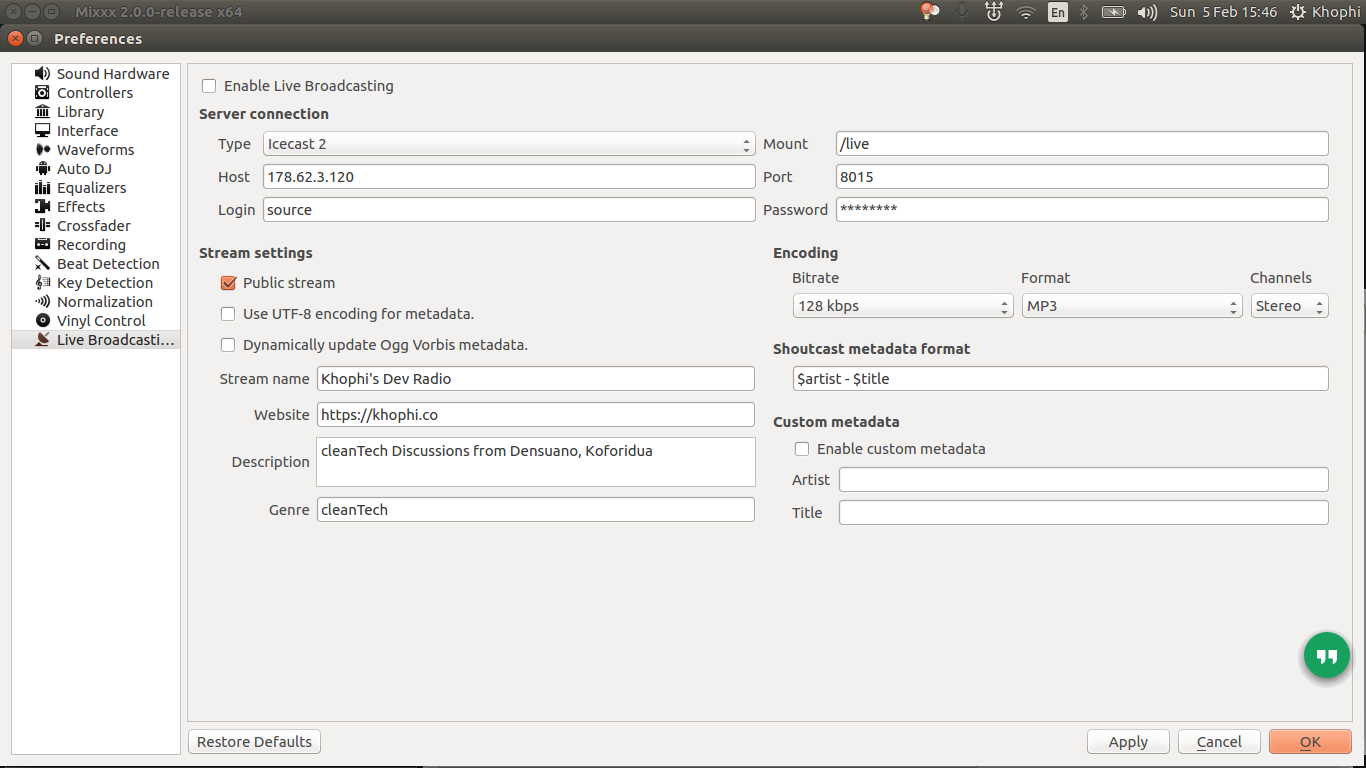
The above screenshot with my working configuration looks straightforward, right? Yes because it is, and that’s how it should be.
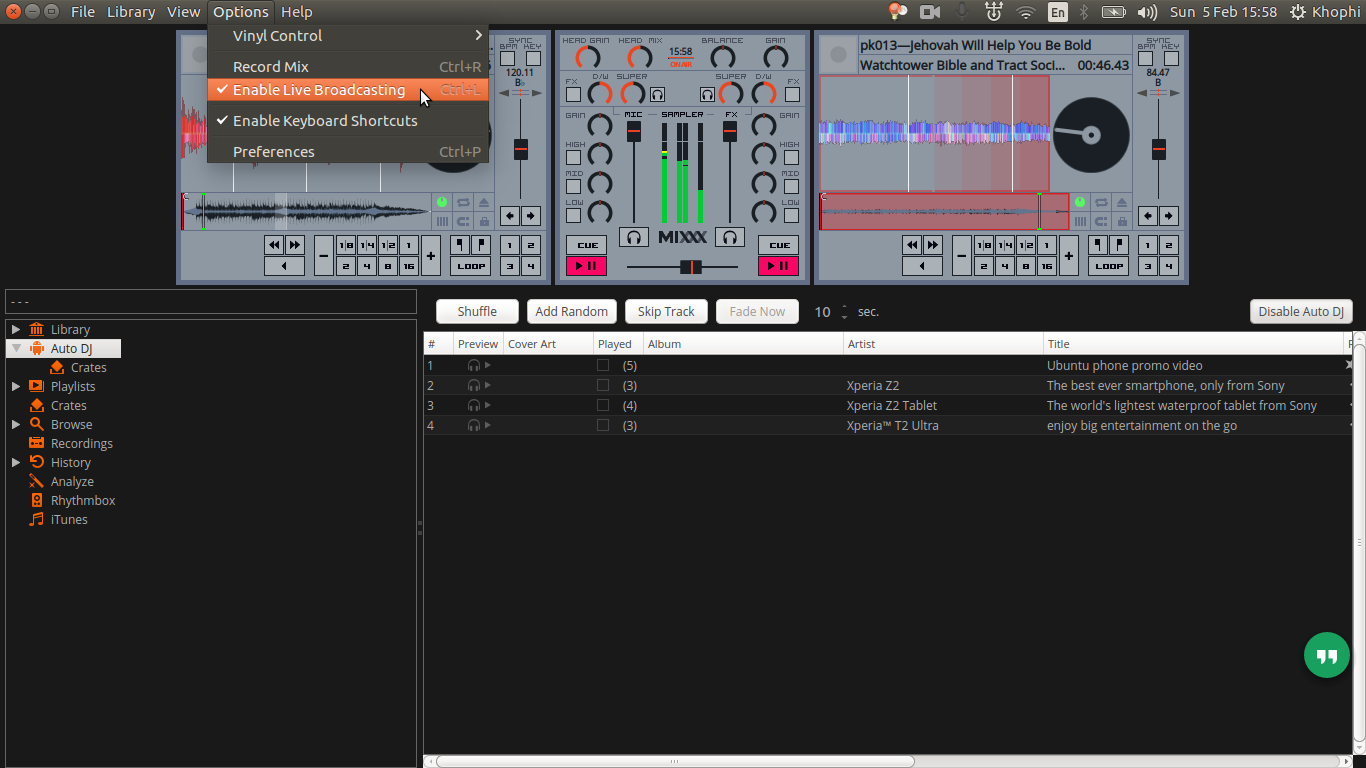
If your configurations are all set, you should be able to begin broadcasting. Just Enable Broadcasting or Ctrl + L and you’re live after successful connection.
When we check our Icecast server, we should see what we’re broadcasting reflect.
Then to listen to the broadcast, visit the mount point, which in the above case is live like so
http://radio.khophi.co/live

Now, have fun broadcasting your radio over the internet to the world!