How to build Blender software on you Ubuntu box from scratch using CMake and CMake GUI is what this tutorial is about. If you’ve built Blender for many years, you probably consider the process as trivial. But as a first time ‘compiler’, you likely will appreciate some simple steps.
Some of us are obsessed at the looking at our terminals when a program is compiling. To some of us, that is simply fun and enjoying, having to enter just a couple of lines of commands, and see the terminal go full retard.
Building Blender is no different. We’re going to build Blender using the steps found on the official Docs of Building Blender, however picking the parts that will simply get the building done for you in minutes.
This tutorial assumes you’re running Ubuntu 16.04 LTS. Don’t worry about the rest. Blender comes with an install_deps.sh that solves and downloads all the dependencies one might need.
Downloading Blender Source
You need git. 7 billion people on this planet know what git is. If you don’t, join the 7 billion today.
We will also need to download build-essentials for use.
sudo apt install git build-essentials
Then, time to download Blender. This is what I do, and I’ll be using those steps.
I keep the Build folder (where the completed compilation files will be including the blender executable), the Source (where the actual Blender will be downloaded to) and the installDeps folder where the dependencies for installing and building blender are found.
So let’s get going.
mkdir ~/Blender
cd ~/Blender
mkdir Source
cd Source/
git clone http://git.blender.org/blender.git .
git submodule update --init --recursive
git submodule foreach git checkout master
git submodule foreach git pull --rebase origin master
In English
- Make a directory called Blender in home directory, as in,
/home/khophi/Blender - Change directory to the
Blenderfolder - Make another directory in the
Blenderfolder calledSourceand change directory to theSourcefolder - Clone the Blender repo into the same folder, as indicated with the
dot(.) at the end of line 5. - The remaining commands are just to recursively update other submodules that come with Blender source
To update you simply use the command:
git pull --rebase
git submodule foreach git pull --rebase origin master
Installing Blender Dependencies
We want to install all the Blender Dependencies automatically using the Blender install_deps.sh script.
cd ~/Blender
./Source/build_files/build_environment/install_deps.sh --source /home/$USER/Blender/installDeps
Now that can take some time, so give it a break.
The install_deps.sh takes in some options, namely:
--source <path>
Where to store downloaded sources for libraries we have to build (defaults to ~/src/blender-deps).
--install <path>
Where to install the libraries we have to build (defaults to /opt/lib).
--with-all
Include some extra libraries that are by default not considered mandatory (main effect of this one is building OpenCollada).
Hopefully, all should install properly and complete without errors. If there’re any errors, make sure you do fix them all following the error descriptions. Troubleshooting the errors aren’t something I can list here and the possible errors can be many.
Troubleshooting the errors aren’t something I can list here and the possible errors can be many.
[wp_ad_camp_1]
Compiling Blender
As much as I love using the terminal when going the GUI way makes sense, I’m all in. So we’ll be using cmake but it also has a GUI, called cmake-gui
sudo apt install cmake cmake-gui
After installation, go:
cd ~/Blender/Build
cmake-gui
That should open up a CMake GUI interface like so
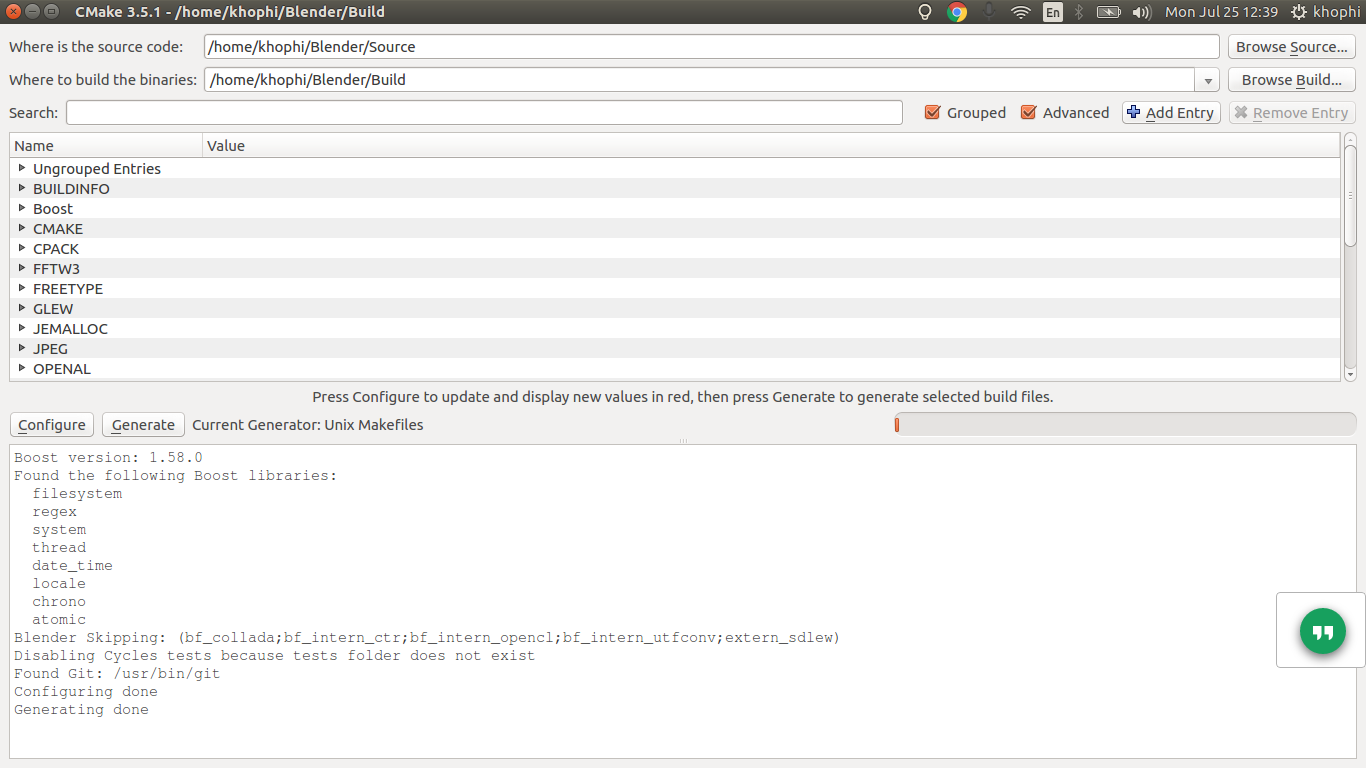
Answer the “Where is the source code” and “Where to build the binaries” questions with the right directories. If you’re using folder structures similar to mine, you should check the image to see where my Build and Source folders are respectively.
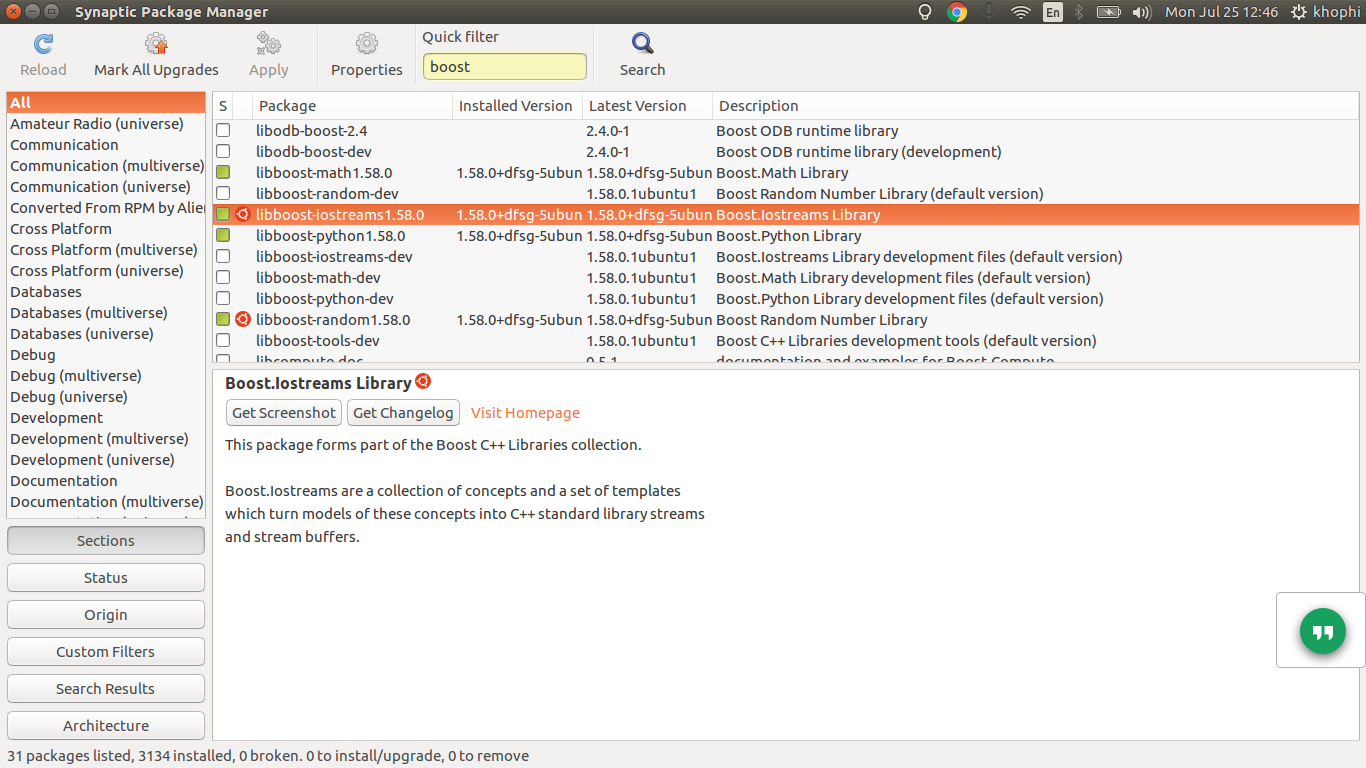
Press on the Configure button. You should see no errors. If you do, fix them. One way to fix them is to use Synaptic Package Manager to download the respective libraries missing.
For instance, if boost related libraries are plaguing you, via Synaptic Package Manager, you can install the right libraries.
If you get no more errors, then it means you’re on good track, and then press the Generate button.
Generation should begin, and when all goes well, you should see something like in the previous image.
Close cmake-gui then change directory to the Build folder. In there, enter:
make -j 16
The -j 16 means it’ll use 16 threads. I’m on an 8-core processor, so twice that is usually fine, and builds okay. If you’re on a lower core, like say, 4, using -j 8 is fine.
If you’re building for the first time, this can take some time, and even more if you’re on an HDD instead of SSD, like I am.
Keep staring at the compiling process. You’ve earned it.
[wp_ad_camp_1]
Afterwards,
make install -j 16
If that also goes well, go back to your Build folder, and you should see a bin folder. In it is your blender executable.
Blender Launcher
You likely will want to find your Blender file in the launcher so that you could easily launch it when you search for it. And you’ll also want your Blender icon to show up on the sidebar. Well, you can, and let’s do that now.

In the Build folder, in the bin folder, you’ll find a blender.desktop. Copy the file into the ~/.local/share/applications
cp ~/Blender/Build/bin/blender.desktop ~/.local/share/applications
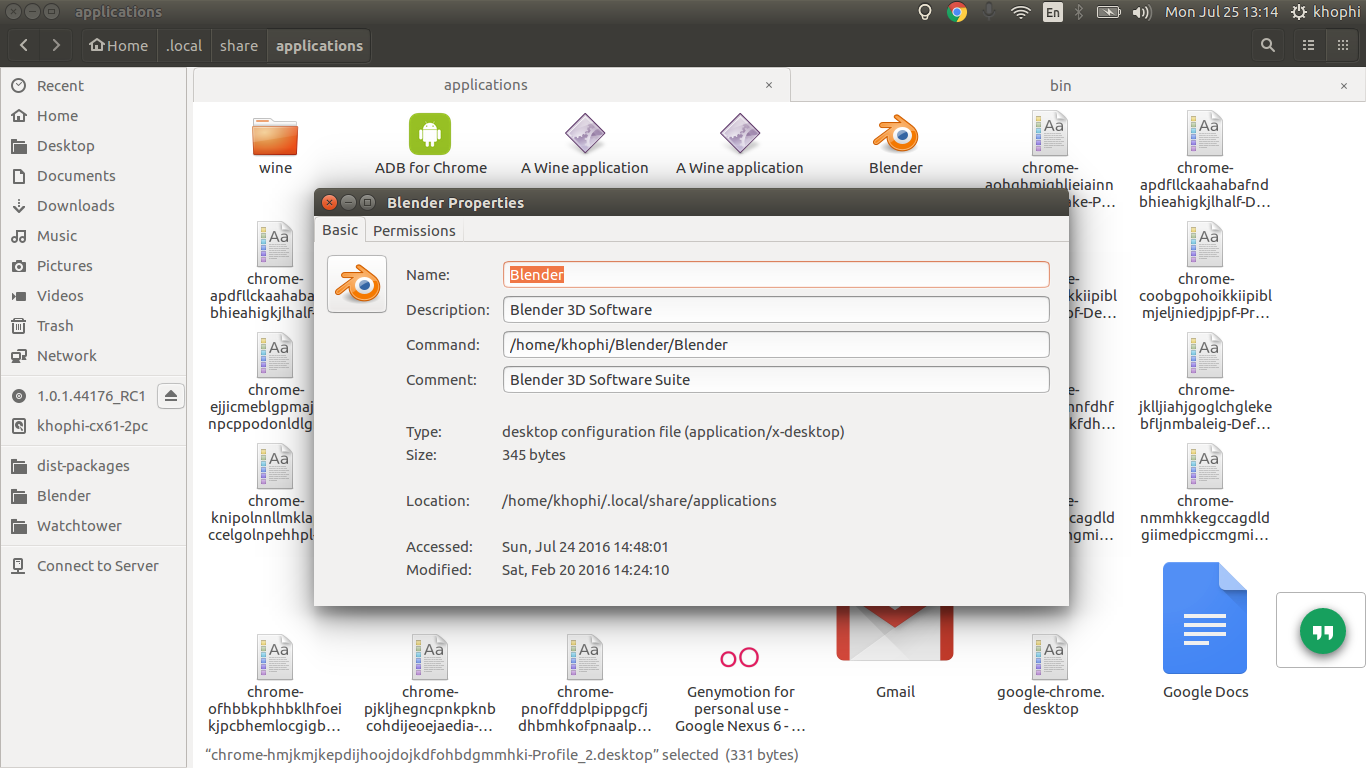
Visit the blender.desktop file in the ~/.local/share/applications folder. Right-click and go Properties
You should see a box like this. Enter what you see from there, then using the icon button on the top left of the properties dialog, select the Blender.svg file from the ~/Blender/Build/bin folder
Our last step is to create the Symbolic link to our actual Blender executable. So go to the ~/Blender/Build/bin folder the right click on Blender > Make link
Copy the link file created into ~/Blender/ and rename as Blender
Done.
If you do not see the change happen immediately as in, seeing the Blender icon in your dashboard, perhaps a restart will fix it.
I hope you found this piece useful. I’ll catch you in the next one!