Tech Leads Programming Class Week 3
Continuing from where we left off in week 2, we want to start with setting up our Angular project. Angular is a frontend framework with many features we hope to explore gradually in this week’s discussion and next week.
Check the Week 2 Class to learn more about what we discussed.
The repository for our Week 2 Class is available at https://github.com/seanmavley/techleadsclass
This week’s class will let us introduce the pages we built in Week 2 into our Angular. Our choice of Angular is based on the many features it offers us. You can read more about Angular on the official pages.
Install Angular CLI
For easy development with Angular, there is the command line tool available. This command line tool comes with options to help make our development process faster and easier at the same time.
You can read about the Angular CLI: https://github.com/angular/angular-cli
To install the CLI of Angular globally on your computer, enter the command below in your Terminal (or Command Prompt)
npm install -g @angular/cli
The -goption tells NPM to install this package globally, on our computer, therefore wherever we are in the terminal, we could simply run the command from this package and use it. We’ll see that in action pretty soon.
A Thing or Two with Git
We wanna use our same Project folder to hold the new changes we want to do, related to installing angular etc. Since we don’t want the files to mix up and whatnot, let us create a new git branch to hold our layout designs from last week, and this week’s angular changes also in a new one.
A Git branch allows us to have different stages of our application under a branch name, without mixing them up.
Let’s see in action and discuss them line by line
cd ~
cd Developments/Project
git branch -l
git branch AppLayout
git branch -l
git checkout AppLayout
git push origin AppLayout
git checkout master
- We change directory into our Home Folder
- From there, we go into the Project folder
- We then list the git branches available with the
-loption- This should basically give us
*masterresult only
- This should basically give us
git branch AppLayoutcreates a new branch with name,AppLayout- Listing available branches now gets us,
*master AppLayout - We then checkout, or switch to the
AppLayoutbranch - We push the newly created branch to the online Github
- We switch back to the
masterbranch
The next step is to create our new Angular project. First, let us delete everything in the folder and initialize a new angular project.
cd ~
cd Developments/Project
rm -r *
ng new AngularApp --directory ./ --skip-git
The first two commands, we’ve seen used above.
The rm -r * is saying, we want everything within the current folder we’re in, that’s the Developments/Projectfolder, should be deleted. The -rflag is saying, delete even folders and recursively delete any folders within folders.
Remember we installed the Angular CLI above? After installation, we got the command, ng. ng is the Angular CLI command for everything related to our Angular project.
As we move on, we shall see how the command gives us more options to do more easily.
The ng new AngularApp --directory ./ --skip-git in English will be something like this:
“Create a new Angular Project, call it AngularApp, put it in the same directory this command was run from, and don’t initialize a Git project”
We don’t wanna initialize a Git project because we already have a git project going for us.
You might be wondering, ‘Ah, but we deleted everything from the Project Folder’.
Well, not everything. The
rmcommand we used doesn’t touch hidden folders. Hidden folders begin with a., for example, any git project will have a folder as.git.
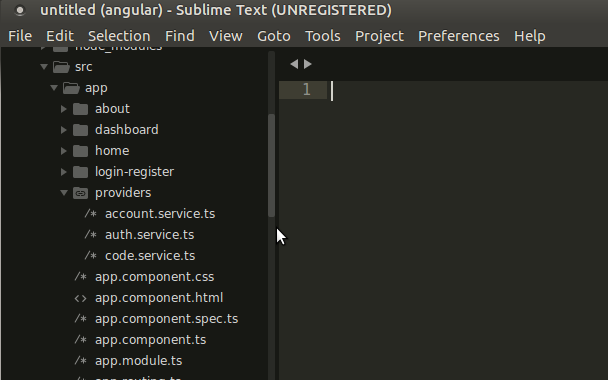
We’ve installed our Angular project, and we should have a folder structure like this:
Let’s commit our changes so far into Git, so we can move onto the next steps
git add --a
git commit -m "Finished setting up Angular Project"
git push origin master
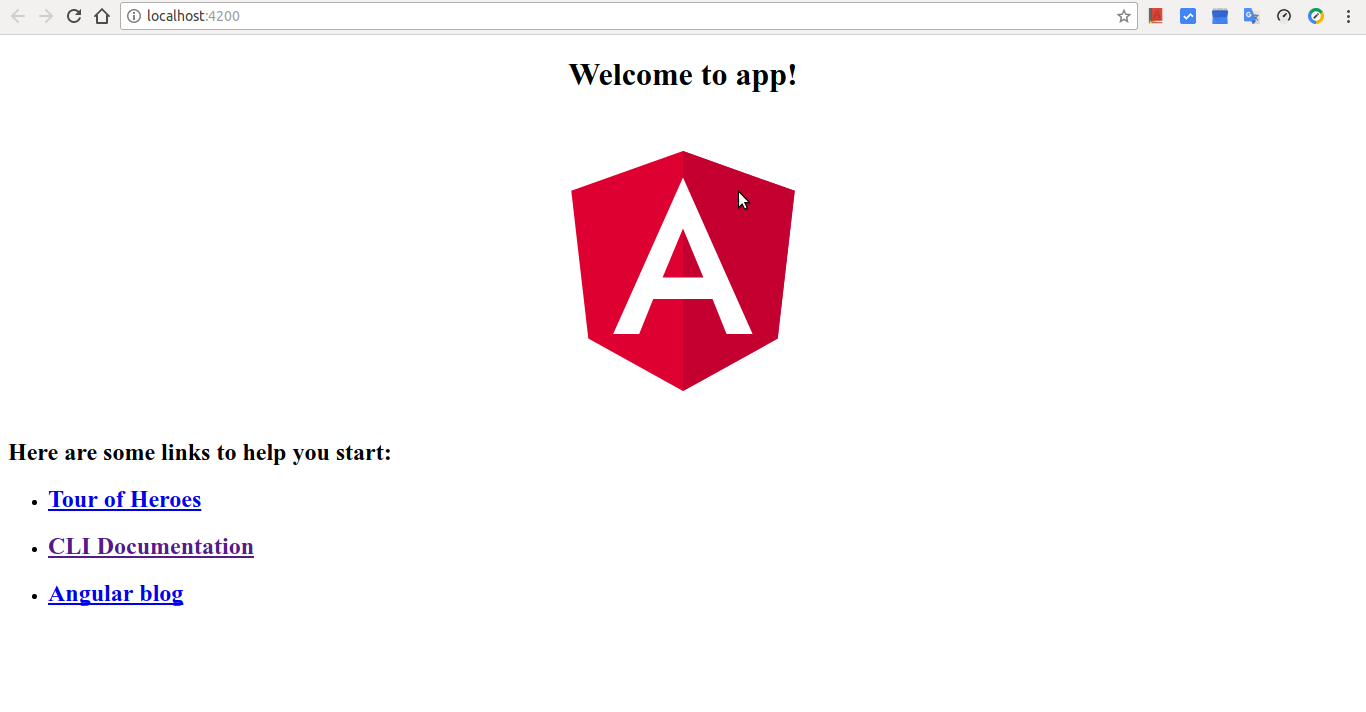
Last but not least, let us view the current state of the project in the browser.
ng serve -o
We use the ng command line tool to our advantage again. The servemeans it should run the project and the -o indicates it should open it in the browser for us.
A Few Configurations
Since we wanna use Bootstrap for our Angular Project as well, let us tell angular to include the Bootstrap files.
First, we need to install the bootstrap and its related dependencies. We did that when we were setting up for the design layout in Week 2. We only need this command run in the Project folder.
npm install bootstrap@4.0.0-beta popper.js jquery --save
After the installation is done, please find the file, .angular-cli.json which is within the Project folder, and let’s make these changes to it.

The highlighted sections above are the changes we will add in the .angular-cli.json file.
      "serviceWorker": true,

      "styles": [
        "../node_modules/bootstrap/dist/css/bootstrap.min.css",
        "styles.css"
      ],

      "scripts": [
        "../node_modules/jquery/dist/jquery.min.js",
        "../node_modules/popper.js/dist/umd/popper.min.js",
        "../node_modules/bootstrap/dist/js/bootstrap.min.js"
      ],
Since we’ve enabled Service Workers for our Angular project, "serviceWorker": true,, we need to run this command to have the service workers dependency installed:
npm install --save-dev @angular/service-worker
Done!
HomePage & Other Pages
Let us generate the individual pages in our Angular app.
One of the main approaches in Angular is having what is referred to as, Components. We will be creating a component for each and every page. Therefore, our Homepage, About, Dashboard and Login-Register will each be a component.
Having components is a beautiful way of separating the logic of each page from the other. Plus, we can apply specific CSS styles to each Component as and when we need, without having to affect other components.
To generate a component, let’s use the ng command, yet again.
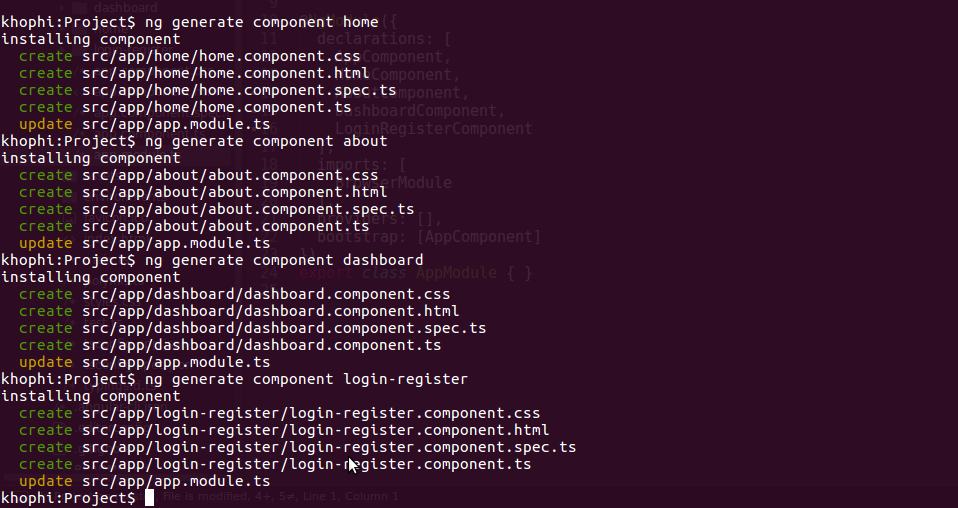
ng generate component home
ng generate component about
ng generate component dashboard
ng generate component login-register
When done with the above commands, create a new file, app.routing.ts in the /src/app folder, and put in this:
import { ModuleWithProviders } from '@angular/core';
import { Routes, RouterModule } from '@angular/router';
import { DashboardComponent } from './dashboard/dashboard.component';
import { HomeComponent } from './home/home.component';
import { AboutComponent } from './about/about.component';
import { LoginRegisterComponent } from './login-register/login-register.component';


const appRoutes: Routes = [
  { path: '', component: HomeComponent },
  { path: 'dash', component: DashboardComponent },
  { path: 'about', component: AboutComponent },
  { path: 'auth', component: LoginRegisterComponent }
];

export const AppRouting: ModuleWithProviders = RouterModule.forRoot(appRoutes);
For the next steps, see the video below:
https://www.youtube.com/watch?v=Wj9YHLaAuuY
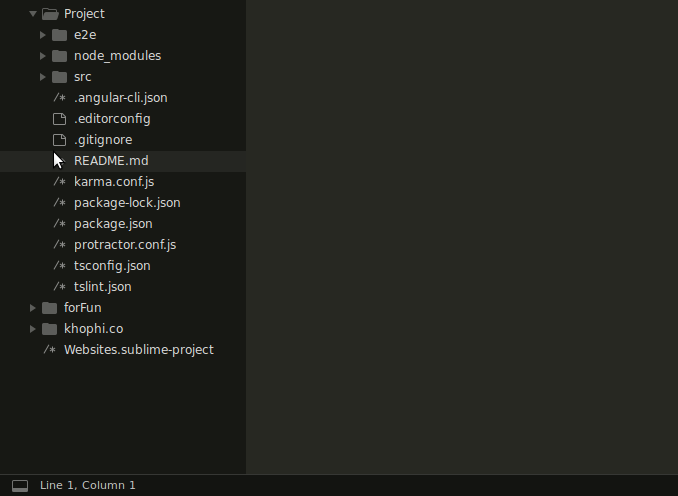
In all, here’s what we ended up with.
Next week’s class will take us through setting up our means of communicating with a back-end.